Rock & Republic Lawsuit Eyeshadow (and FOTD)

Wednesday, September 8, 2010
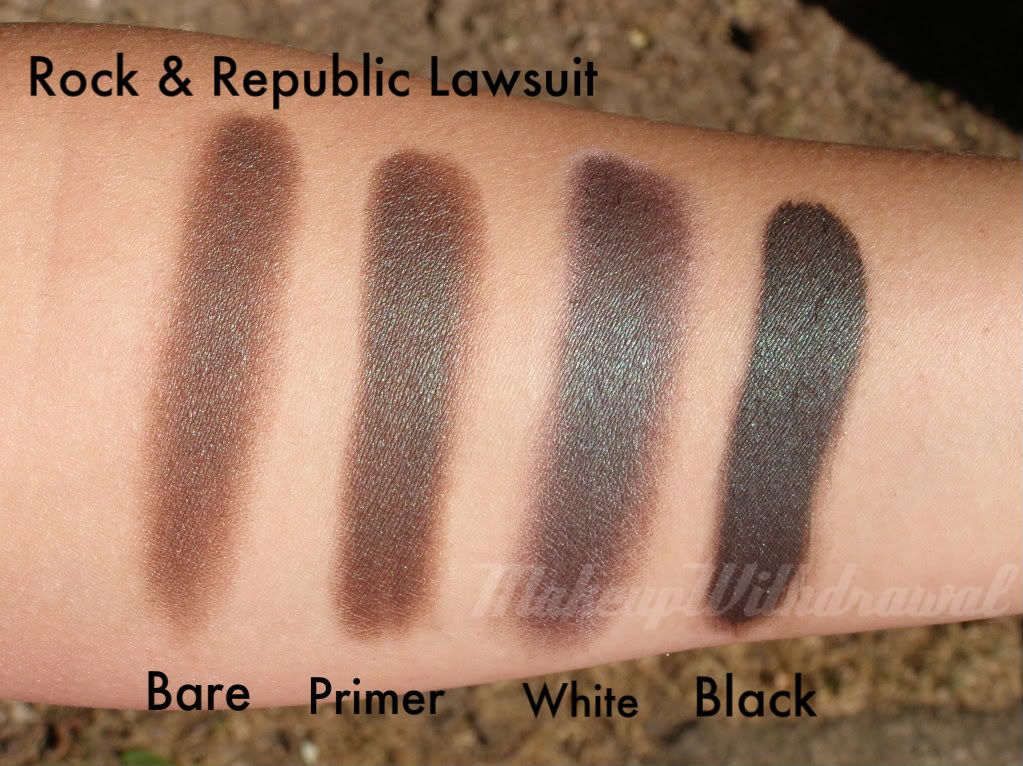
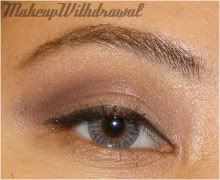
If you look at the reflection, you can see the brown base.
I love this Rock & Republic shadow so much, I figure that it deserves its own post. 
This one is really exceptional, a dark forest green/bark brown duochrome. I love, love, love duochrome shadows- the shift in color is fascinating to me! What sets this one apart from other brown/green duochromes, like MAC Club, Urban Decay Lounge or Too Faced Label Whore is the quality. No fallout because the shadow is so well formulated, it really is a joy to blend and apply. 
I used to own Club (but it died, sad story, I'll have to tell you it sometime), and I can tell you that the shadow itself is harder, and not as creamy as Lawsuit. 

I love that Lawsuit's green is really rich and vibrant, especially over a black base, as you can see. The brown is also much cooler than Label Whore (which can get kinda of reddish, and has a bit of glitter as well). And isn't it cool how it looks purplish over a white base? 

Rock & Republic shadows are usually $28, but I got mine for 50% off during a sale! It's worth its weight in gold, it's definitely one of my top 5 shadows. 

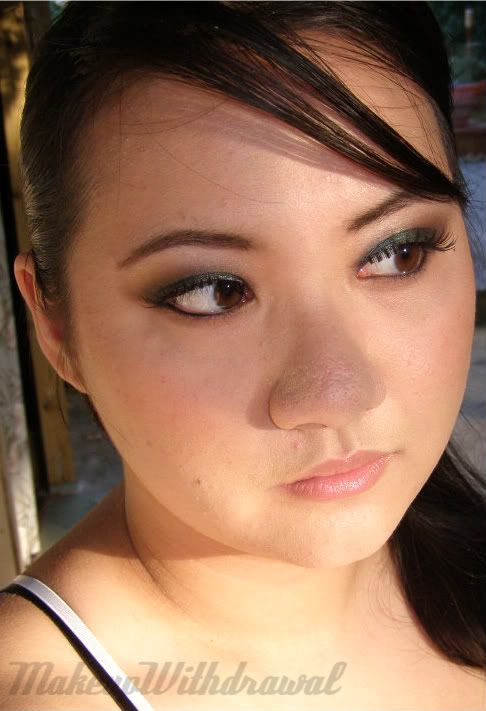
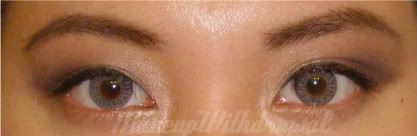
And here's a FOTD with it!

I like how my face is partly shadowed. Photo-taking fail. 
Face: MUFE HD, NARS concealer in Ginger/Custard, R&R Foreplay blush, L'oreal Magic Perfecting base
Lips: Becca Giselle
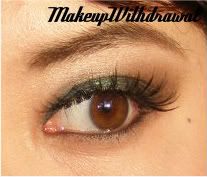
Eyes: UDPP, e.l.f. Black creme liner as base, R&R Lawsuit, NARS Bali, NARS Bellissima duo (left side), Prestige Total Intensity Deepest black, false lashes. 

Products mentioned were purchased by me, for my own use.

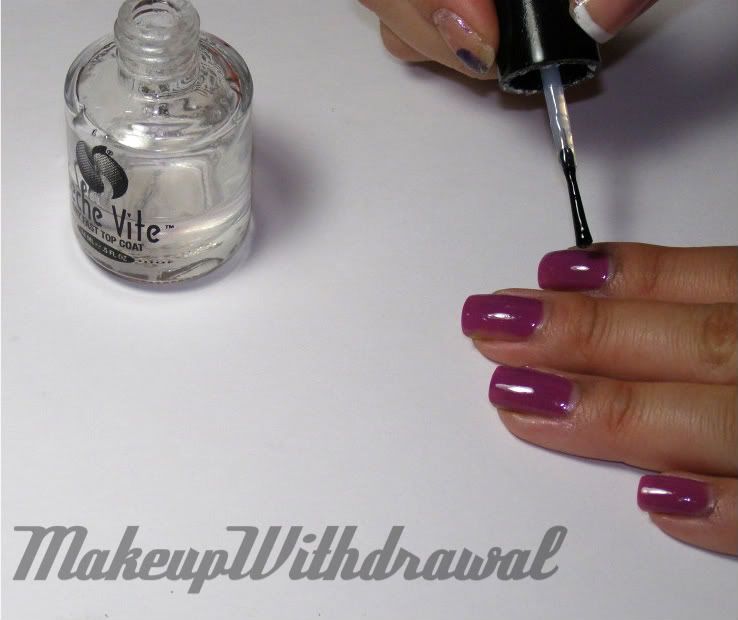
Review: Seche Base- Ridge Filling Base Coat

Tuesday, September 7, 2010
stock image from seche.com
Ok, let's rewind real quick. So far I've reviewed the Seche Vite Top Coat and the Seche Clear Base Coat. I really loved the former, was meh about the latter and now- I can finally talk about how I hate Seche Base.
I picked this up at CVS when they were having their beauty sale because it had a 50% off sticker on it. I figured, $3 and change wasn't to bad at all for something that would provide me an even nail surface.
Boy was I wrong! First off, it adds about 40 minutes to my manicure because even the thinnest layer of this milky fluid takes about five minutes to dry by itself. It also makes each consequent layer of polish take about 10 minutes to dry. This irritates me greatly, as the painting my nails is to make myself happy by using pretty colors and designs to adorn my nails, not to be a trial of patience.
There's no real way to by pass this extra time because if I don't let each layer dry completely, it remains in that soft, easily dented, smudgy wet stage- even with a fast dry top coat like Seche Vite (actually, especially with a fast dry top coat, I feel like the wet layers get trapped underneath).
Now, back to the name itself. 'Ridge Filling Base Coat' kind of implies that it has ridge filling properties, no? Er, I didn't experience any ridge filling, what so ever. No, in fact- a clear $.99 Essence polish made for a better nail smoothing coat than this did. Kinda outrageous, right?
The only think I liked about this base coat at all was the slight pearly shimmer in it. But considering that it's a base coat, it means almost absolutely nothing.
So, save your money. Get something better, there's way better base coats out there, this isn't worth the discounted $3.50 I paid for it. (at some point I'll review my SpaRitual and Essie base coats).
What do you think?

Product was purchased by me, for my own use.

NOTD: Green with White Fishbones

Monday, September 6, 2010
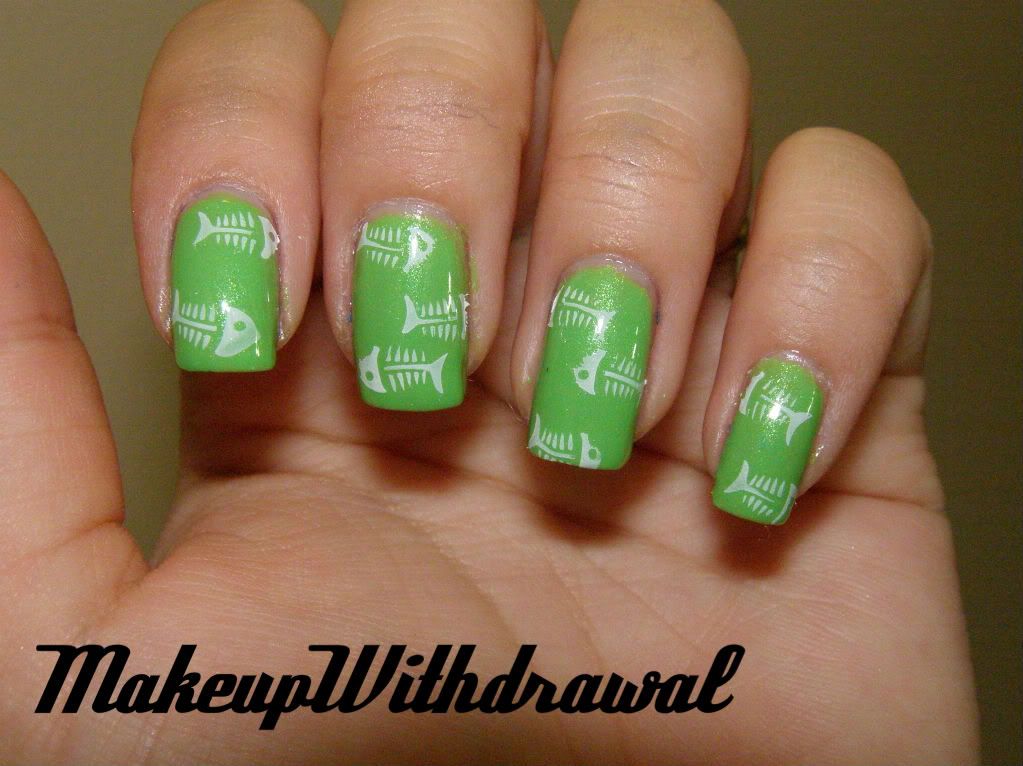
This is the first design I did with my Bundle Monster plates. Actually, I don't know what it is but Wet'n'Wild French Creme (white) didn't stamp very well with this design, I think because it's rather small. Or maybe the etching is too shallow, beats me. Anyways, it took a lot of tries to get this one done, and it's a bit patchy.
On the bright side, I found out that China Glaze Entourage (the base green) doesn't stain through Essie Protein Base, so I can use it again! Stamped with BM04.

EOTD: Soft, Work Friendly Violet

Saturday, September 4, 2010
This is a really toned down, neutral violet look. Really fast and easy to do. It's so muted that it almost doesn't even look purple anymore! Look, I have grey contacts in. They turn sort of blue on me, but I'll tell you more about them soon in a separate post.
Brows: Maybelline Define-A-Brow in Dark Brown

Eyes: UDPP, NARS PoP Palette; Violetta, Demon Lover, Abyssinia, Nepal, Maybelline The Falsies Mascara, MAC Blacktrack Fluidline.


Adios, until next post!

-Mimi

Everything You Need to Know About Konad (Pt. 2: Tutorial)

Friday, September 3, 2010
Ok, so this is the second half of my Konad/nail stamping posts, the part that actually tells you what the heck to do.
I'm assuming that you've read Part 1 and have all the supplies, so I'm not going to familiarize you with descriptions of the tools. Any of the images can be enlarged by clicking on them.

Konad Tutorial


Step 1: Apply your base coat, and your base color as you would regularly. After that, apply a top coat to seal in your color. This is a pretty important step, especially if you're new to stamping because chances are, you might mess up the first attempt at stamping and will want to remove the messed up image. The top coat allows you to take a q-tip or cotton pad and whisk away the image without disturbing your base color, and making you start over from scratch.

Step 2: Make sure the lacquer on your nails are COMPLETELY dry. I'm serious. A semi dry nail can smudge quite badly as you stamp the image onto them. It's better to wait a few extra minutes for your polish to dry than it is to rush and smudge them later, and having to redo that nail.  Also, if you'd like to avoid having to clean up your cuticles, apply Vaseline or a cuticle oil to them, being careful not to get any on the nail itself.

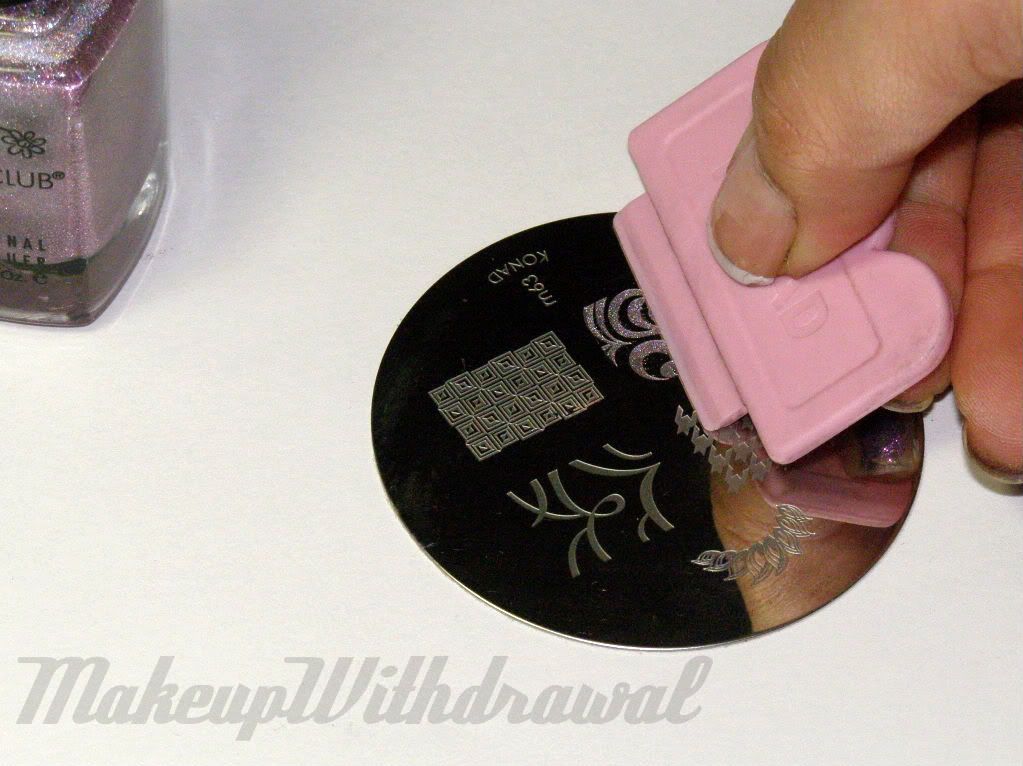
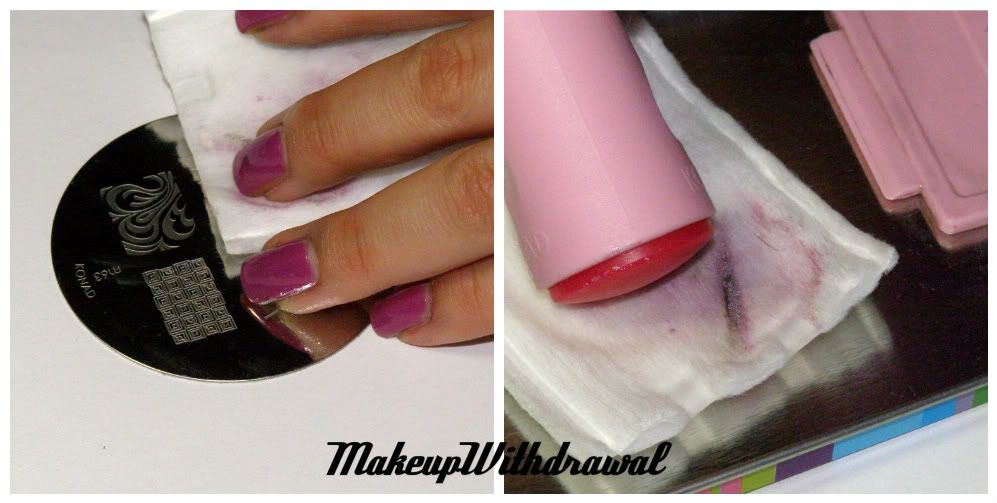
Step 3: Make sure the plate is clean (wipe it down with your remover if needed) and apply your stamping polish to roughly the first 1/2 of your design. You don't need to cover the whole design because the act of scraping, which follows- pushes the excess polish into the gaps.


Step 4: Holding the scraper at an angle (not 90 degrees, angle it at 45 instead), carefully scrape across the image. Don't worry if the image is a little streaky, that usually doesn't pick up when you stamp.


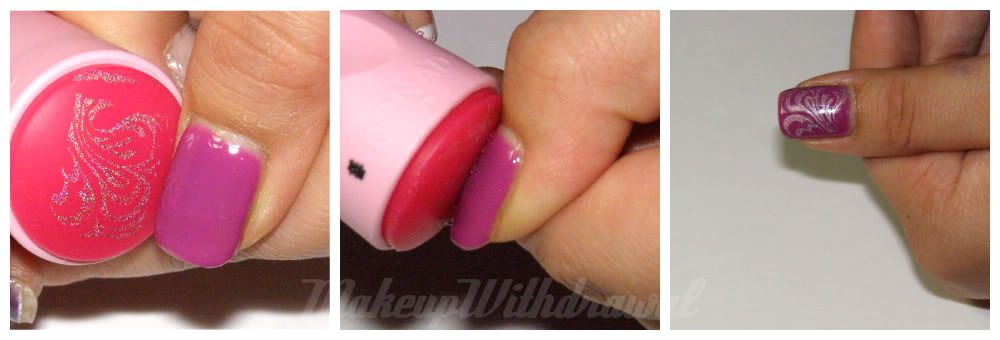
Step 5: Quickly stamp the image onto your stamper, using even pressure. You want to work quickly because you don't want the polish to dry out, the image will not transfer well if it does.


Step 6: Line up the side of the image with the side of your nail. You want to stamp the image from side to side, rather than from tip to cuticle, it'll help align your image better. Press the stamper onto your nail in a slight rolling motion across the surface (as opposed to just stamping it really hard onto your nail).

Step 7: Inspect the image, if it's not to your liking, you can quickly wipe it off with nail polish remover (gently) and start over. If not, clean off your stamper, scraper and plate by wiping them down with remover. Repeat steps 3 to 7 for every nail.

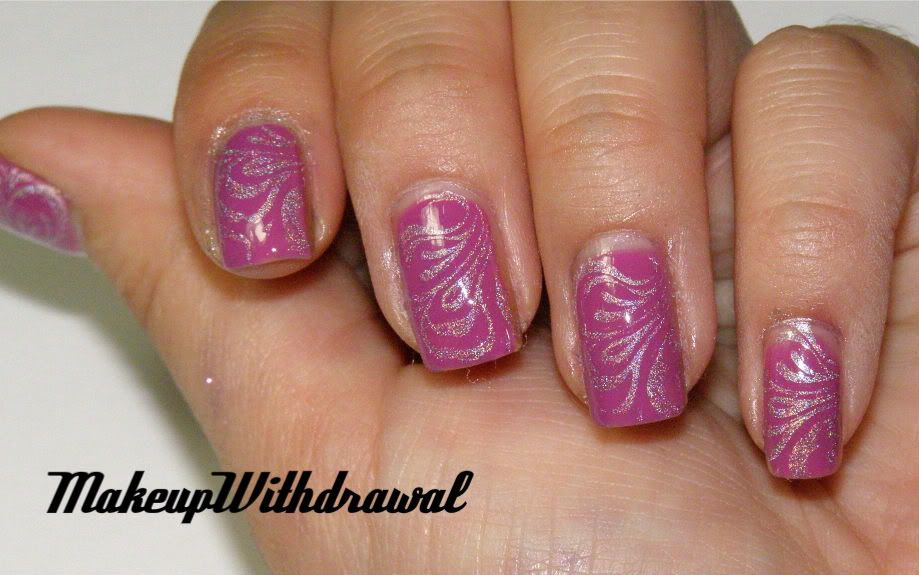
Step 8: Now clean up, removing any extra polish that got on your cuticles. Finish up with a clear top coat. Voila! Finished!
Pre-cleanup!
So, was that comprehensive enough?
I love, love nail stamping because it allows me to get clean, precise designs onto my nails when I'm too lazy to hand paint them on. You can get great semi sheer images that are intricate and really cool looking. Try mixing matte and glossy polishes, as well as holographic ones. You can also layer designs for even more unique nails!

Have any questions? Or comments? Or tips for those who are new to it? How about favorite plates and polishes combos?