Showing posts with label DIY. Show all posts

Another DIY Freestyle Palette

Friday, May 31, 2013

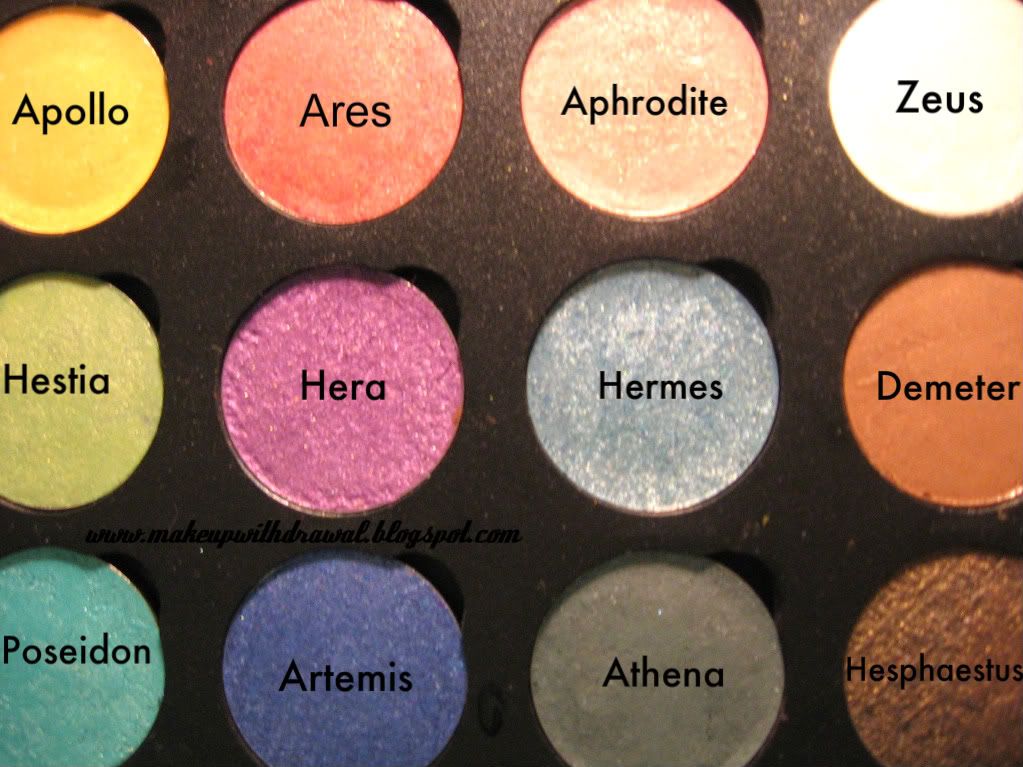
A few years ago I made a little tutorial for a DIY freestyle palette using tins. Recently, I wanted more freestyle palettes to house my Inglot shadows (I like how their Freedom Palettes look but the general consensus is that taking shadows out to switch around is a huge pain in the ass) and my recently depotted Urban Decay Book of Shadows UD♥NYC. I also wanted bigger palettes that matched my MUFE and MAC ones, I am particularly drawn to black palettes.


I started out by ordering a empty palette from eBay. This one was like $4.50 including shipping. I bought one that held 10 36mm shadows.

As you can see, it is the exact same size and dimensions of those 10 MUFE palettes. They used to give these away for free if you bought 3 MUFE shadows or blushes at Sephora. Sure wished they still did! The only difference between these palettes (well outwardly appearance, anyhow) is that the MUFE has a matte, almost velvety texture while the cheap eBay one is just regular plastic (slightly darker in color and not quite as smooth in feel as the old MAC palettes, in case you were wondering).

All I did was to rip away the insert which is made of thin, really pliable plastic. There is glue at the bottom of the plastic which is rather annoying to remove. It took me a while to scrape this goo off, even with rubbing alcohol and a putty knife. Next time I'll try Goo Gone to see if it works better.

When it is clean, apply adhesive magnetic sheets. you might have to clip a small rectangular shape out so that the sheets fit near the closure. You can buy these sheets at Target, Walmart, near kid's craft supplies or find them at office supply stores (usually for turning photos into magnets). If you have a lot of MAC Pro pans (where there is already magnets, which do not stick all that well to the magnetic sheets) then you might consider making it a reverse palette. You'd have to buy thin sheet metal and shears (home improvement stores), cut it down to size and adhere it to the palette. Or you know, just rip off the magnets.

This palette holds shadows pretty well. I can flip it upside down and shake it and they won't fall off. However, dropping the palette on the floor will probably cause them to fall off (ok, not probably, I know this from experience. That's how my palette got a little dusty with shadows already!).

Hopefully you found that useful, if you were thinking about making freestyle palettes yourself that looked sleek and black.


A Brush Washing Alternative to the $39 Sigma Glove

Tuesday, April 16, 2013


A few months ago, Sigma came out with a brush washing glove (here) that was reviewed by a lot of YouTubers and bloggers. After watching and reading countless reviews, I became pretty convinced that $39 was a pretty steep price to pay for a textured silicone glove. Don't get me wrong, I will happily part with my money for nice brushes but not for a brush cleaner that has an uncanny resemblance to a dog washing mitt.


I rummaged around my bathroom, looking under the sink for the silicone body mitt that I had purchased last year. It is supposed to help with cellulite, I had purchased it mainly because I have frightfully dry ankles and thought that maybe it would exfoliate them. It didn't, so it ended up under the sink aka the Skin & Hair Care Graveyard. The brand is Cailyn, I had purchased at Marshalls for around $5, if I remember correctly. One side has large nubs while the other side has longer, soft silicone "teeth". I mainly used the fine side because the shape and direction of the larger nubs created a lot of drag on bristles.

I didn't even get my hands wet. I just plopped that sucker in the sink and let a thin stream of lukewarm water run down the length of it. I wet each brush, applied a drop of cleaner and created a lather by gently stroking it across the teeth in one direction, flipping the brush over to do the other side followed by a final rinse. I had watched a lot of YouTubers go at it pretty hard scrubbing their brushes in a hard circular motion which seems to me a fine way to send your brush into early retirement.

The soft silicone did an excellent job really getting concealer and foundation out of my synthetic brushes. However I found that I preferred to lather my natural bristle brushes by hand, I want to be as gentle as possible on those hairs. Though the Sigma glove boasts six textures, I honestly felt like just the one texture of long silicone teeth worked splendidly for cleaning brushes of all types.


Another option to clean your brushes is a face cleansing scrublet. You know, the kind that came on the L'Oreal 360 cleaners and can be found very cheaply on eBay or Asian beauty sites. It's basically a mini glove. Another YouTuber, SecretLifeofABioNerd created this tutorial for a brilliant DIY brush cleaning board that just requires a hot glue gun and a plastic clipboard. Seriously though, if I hadn't found my old body mitt, I would have gone for the dog washing glove since you can pick one up for under $10 at any pet supply. Wouldn't you rather spend your moolah on say, another pretty blush instead?

What do you currently use to wash your brushes? Have you tried the Sigma glove? Did you find it to be worth the price tag?

Products featured were purchased by me, for my own use. For additional information, please refer to my Disclosure Policy.

A Trick to Extend the Life of Creams/Gels

Thursday, March 7, 2013
You know what is the worst? The dreaded day when you open the little glass pot of your MAC Fluidline or other cream/gel product housed in a little container, to find that it has dried out and no longer usable. That's probably the main reason I stopped buy that sort of product because I was always frustrated that I would never get to finish even half of it! I've post about reviving gel liners before, but today I want to talk about a preventative measure.


Next time you're at Target, Walmart etc, stop in the hardware section. Head over to plumbing supplies and pick up some thread seal tape. It's very cheap (this two pack was under $1) and will do wonders for extending the life of your product!

You'll need to cut off about 6-8 inches, depending on the size of your jar. You want to be able to wind the tape around the thread of the container at least three times, possibly more if you feel like you want an even more snug seal. Don't wind it too tight, you'll see that if you do the motion of screwing on the lid will 'cut' the tape. This tape creates a more airtight seal for you product when you screw the lid on, which helps extend its life.

There you have it! A pot that is now protecting from well, air. I came across this tip quite a few years back on MUA, I can't remember who suggested it, but I'd love to give them credit! It has really helped me prolong quite a few products that come in jars. Hope you find this tip useful!

How To Revive Any Polish by Emi of Project Stash

Friday, December 28, 2012
Hi folks! Sorry for the absence.  I had a bit of technical difficulty with Disqus but everything is back to normal now. Today I have another guest post for you. Emi from Project Swatch (which by the way, has REALLY great pictures and in depth reviews. You simply must follow her) graciously wrote a very helpful post about restoring nail polish. I'm always shocked to hear when other people throw away old polish!
    ______________________________________________________________________


Nail polish doesn’t go bad – ever. It can separate, but shaking it up will mix it back together. It can thicken, but you can thin it out with nail polish thinner (never use acetone or nail polish remover, as it will eventually destroy the polish). Nail polish can dry up completely, but even then, it can be revived.

A friend of mine recently received a dried up bottle of Illamasqua Harsh nail polish in the mail. She preferred to get a replacement, and she gave me the bottle of dried up polish to revive! As you can see, it is completely dried up and the polish doesn’t move at all. However, the polish was still soft enough that I was able to easily pull out the brush, which is step one.


 Next, I took my bottle of nail polish thinner, and poured quite a lot – enough to almost fill up the bottle, but leaving about half a centimeter of room at the top, to more easily be able to mix it up. If you’re not sure how much thinner to use, err on the side of using less – you can always add more later. I use Orly nail polish thinner, but any almost nail polish thinner should work just fine; make sure it doesn’t contain acetone – a couple of the cheaper thinners do, and the acetone can eventually harm the polish.

I then used a toothpick to stir the thinner into the polish. Once it was somewhat mixed in, I shook it for a while. The polish became useable immediately, but I actually found that it was a better consistency the next day (after re-shaking) – perhaps because after sitting, any remaining lumps had dissolved in the thinner. 

 As you can see, Harsh has been fully restored. It’s on the thin side for a glitter, though it’s still a bit thicker than most crèmes, and it’s very easy to use. If you use multiple coats, it does dry on the slow side – I’m not sure if that’s because it has dried out and been restored, or if it’s just a slow-drying glitter. It’s mostly opaque in two coats, but I prefer it as a one-coat glitter topper.

Here is one coat of Harsh swatched over a black crème:

And here are two coats on a swatch stick:


____________________________________________________________________________

Thanks Emi for that great post! You really should check out her blog- Project Swatch.

Informative, no? On a personal note, I find myself preferring ethyl acetate and butyl acetate thinners like Zoya Renew and Orly Lacquer Thinner for my Big 3 free polishes. For Seche Vite, I like using Seche Restore which has toluene. So now you know! Don't ever toss those precious old bottles of polish away. Some vintage polishes are so unique in color, it'd be shame to just throw them away.

Have you ever thrown away a bottle of polish simply because it was dried up?


Stamping Plate Organization

Tuesday, July 24, 2012


Confession: I have a hard time keeping all my nail related things super tidy. For some reason, the makeup and brushes are put away pretty neatly but my desk looks like a forest of polishes, covering every flat surface. I also have so many nail art supplies; literally boxes full of things like striping tape, brushes, rhinestones and the like. SO MUCH STUFF. In an effort to tidy up and to organize things because I'm expecting a long distance move this year, I've been looking into more storage options.
Recently, I saw this really awesome method of storing nail plates over at one of my new favorite blogs- Daily Something. I tackled this little project, but wanted to keep my costs to a minimum.


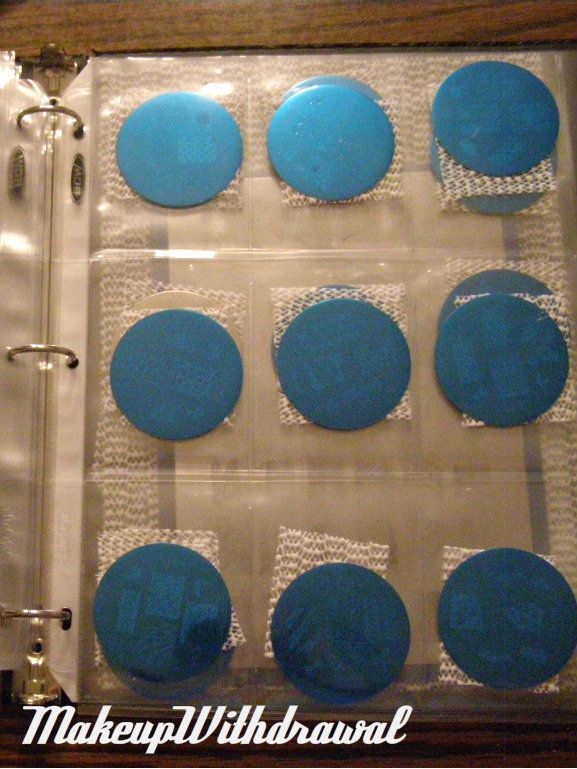
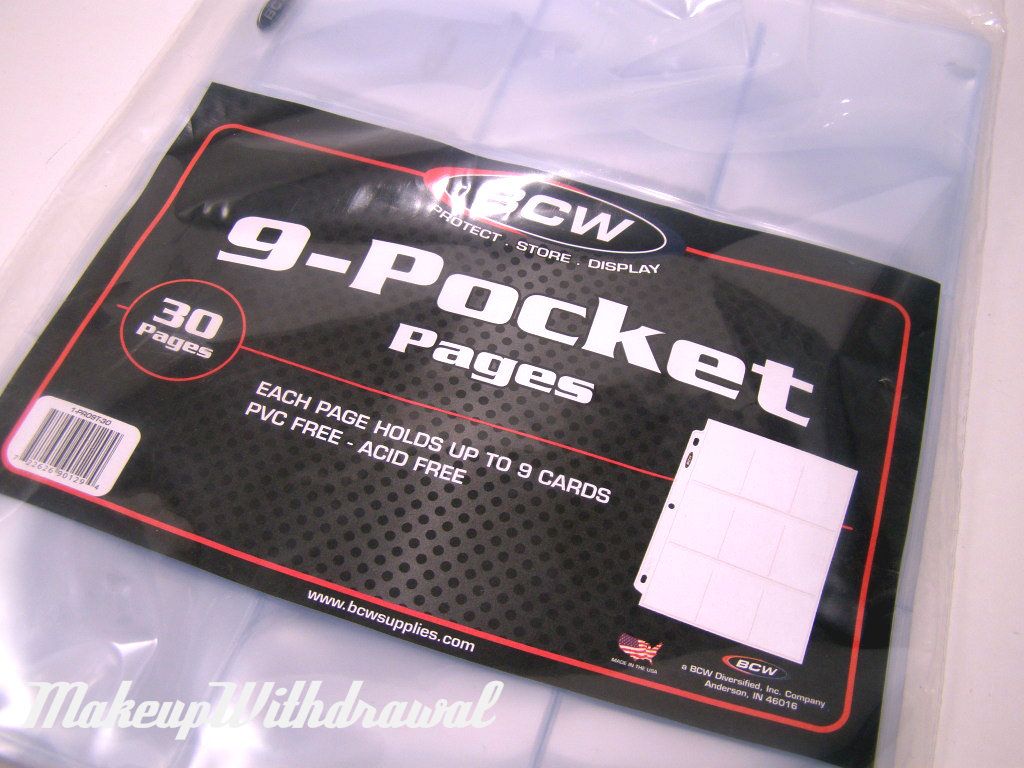
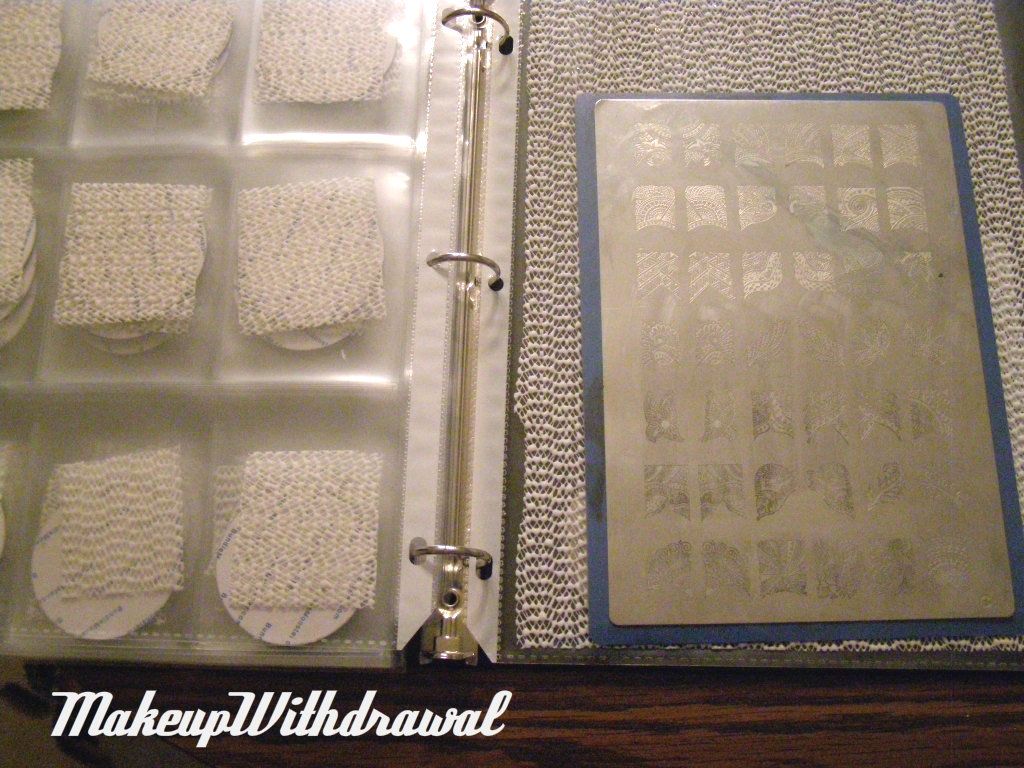
First I hunted around the house for a three ring hole binder. I also ordered some transparent sheets of baseball card protectors (from Amazon, like these ones here). I bought a 30 pack, but in hindsight I should have gone for the 25 pack or lower because each sheet holds 9 plates and I certainly don't own 270 nail plates (so this little endeavor really could have been even cheaper- the 25 pack is $6 something). Oh well- it was $8.39 with free shipping because of Amazon Prime.

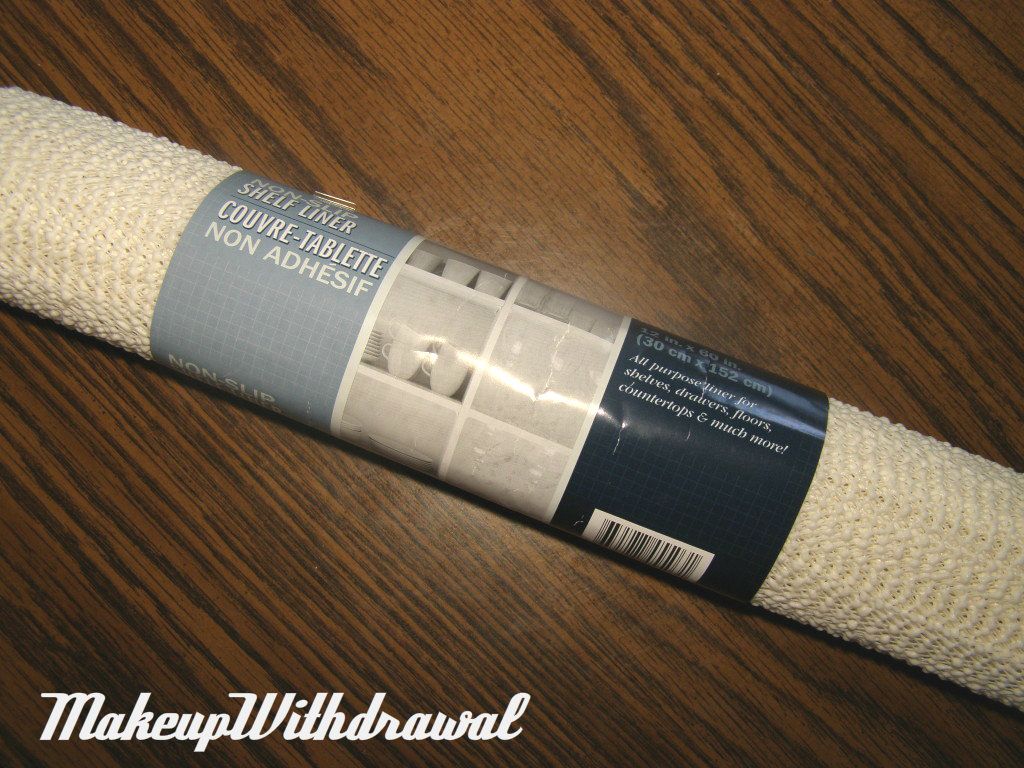
Next, I stopped at my neighborhood Dollar Tree because I knew they had shelf liner. One roll of it was more than enough for all my plates (three sets of Bundle Monster plates, various Konad & Fauxnad plates and more).

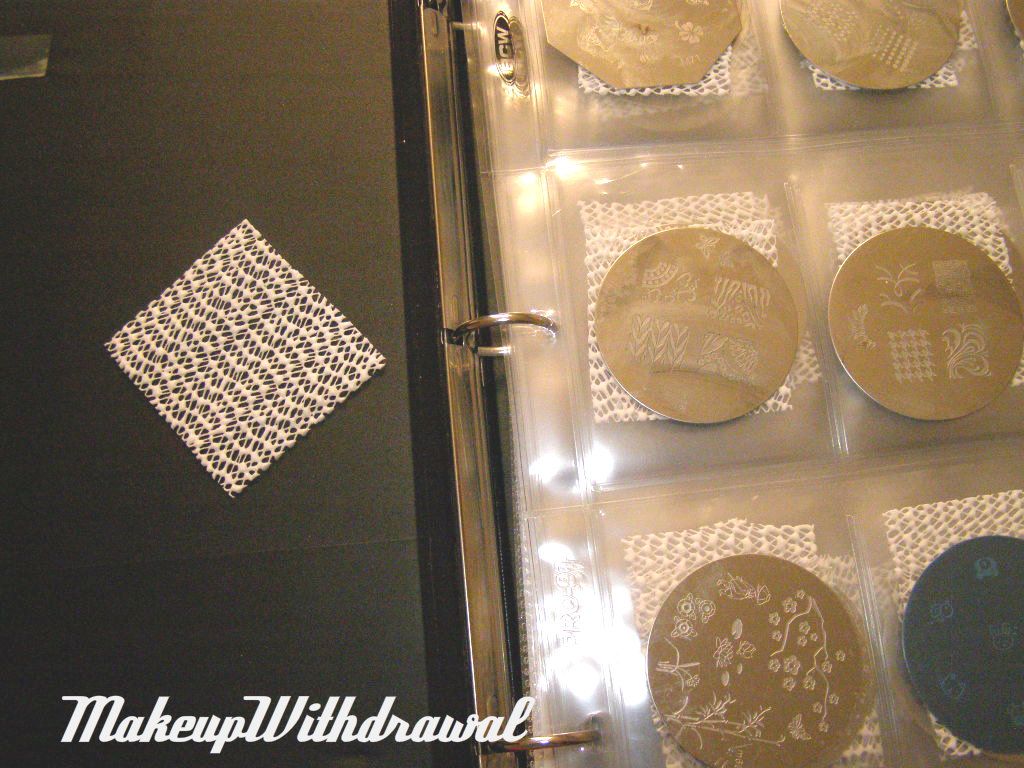
I cut the shelf liner into small pieces and placed them in each pocket to provide a secure backing for each plate so that they wouldn't fall out.


I also had a few sheets of those full page transparent protectors to hold my XL and other large plates such as the A series plates. In the future, if I buy more A plates (which are 7cm in diameter, if I recall correctly) I may buy a pack of sheet protectors that divide the page in half.

I love this binder storage idea because it displays each and every plate while protecting them. This is fabulous because some of my fauxnad and the first Bundle Monster series plates have wicked sharp edges. Before, my plates were rattling in a box, and they were scratching each other up and it was annoying picking through the pile to find which one I wanted.

$1 for the roll of shelf liner, $8.39 for the protector sheets, $ Free.99 for the binder because I'm a pack rat who never throws away old notes and school supplies. Less than $10 for a solution for one part of my nail clutter? Brilliant.

How do you store your nail plates and other nail supplies?

Products featured were purchased by me, for my own use. The links in this post are not referral links. For additional information, please refer to my Disclosure Policy. 

Rococo Gold Leaf Nail Lacquer Dupe (DIY Gold Bling)

Thursday, July 8, 2010
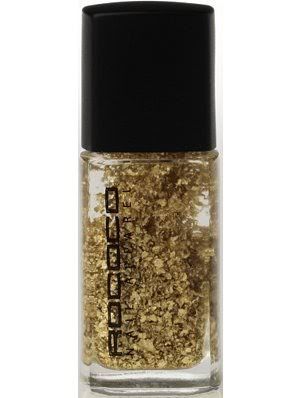
stock image from Space NK
See this nail polish? You know what that is? Pure, distilled decadence. Also known as Rococo Gold Leaf Nail Lacquer, it kinda of speaks for itself.  Now, considering that it looks expensive, it makes sense that it also comes with a hefty price tag- $32.50 to be exact. There's no way in heck I'm going to spend that much on a single bottle of polish (Mr. MakeupWithdrawal would kill me first) so I was pretty excited when I saw instructions for a DIY dupe of this gold foil polish. 
MissHavisham from MakeupAlley graciously allowed me to share her recipe, and I attempted it myself. 
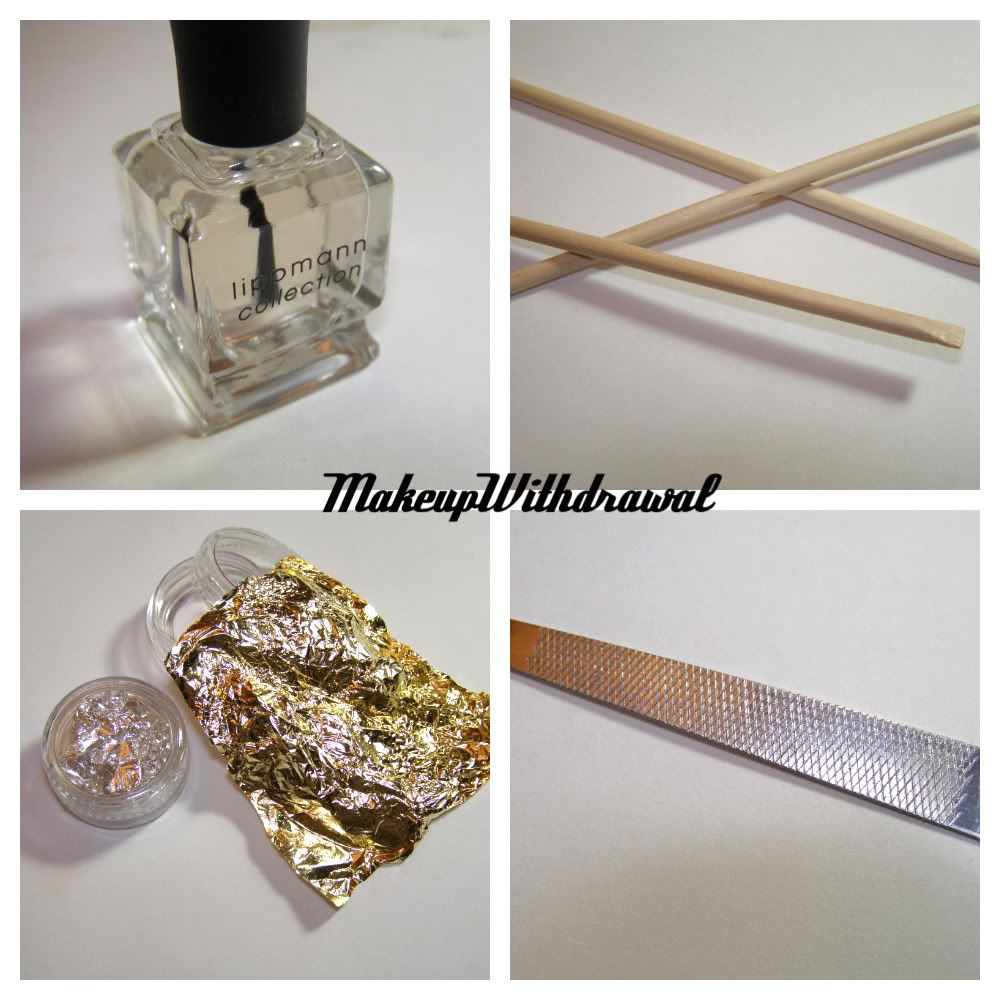
Materials: 
-Nail safe gold foil 
-metal file
-clear polish
-manicure stick
-buttload of patience
Optional: latex gloves
These are the original directions:
"I laid one sheet [of gold foil] down at a time on a piece of paper. Wear gloves or else it'll stick to your skin and you won't be able to get it back off. Also, try not to breathe on it or POOF they fly everywhere. Then I ground them up with the side of a metal file. This takes forever. Then I made a little funnel out of paper, and used the sheet of paper to carefully pour them into the funnel into the bottle of topcoat. (I used a spare LeChat Dare to Wear I had laying around) If they don't go right in, just gently poke with an orange stick. And I used the brush from the topcoat to pick up any remaining stragglers. That's about six sheets in that bottle. And they do settle to the bottom, so shake shake shake before using. Someone else said they had tried to make this and the leaf had turned green in the polish, but I think because I bought leaf specifically for nails (to be used in acrylics, I think?) it won't. It hasn't happened yet and its been in there for two days. *crosses fingers*"

Here's how I did- 
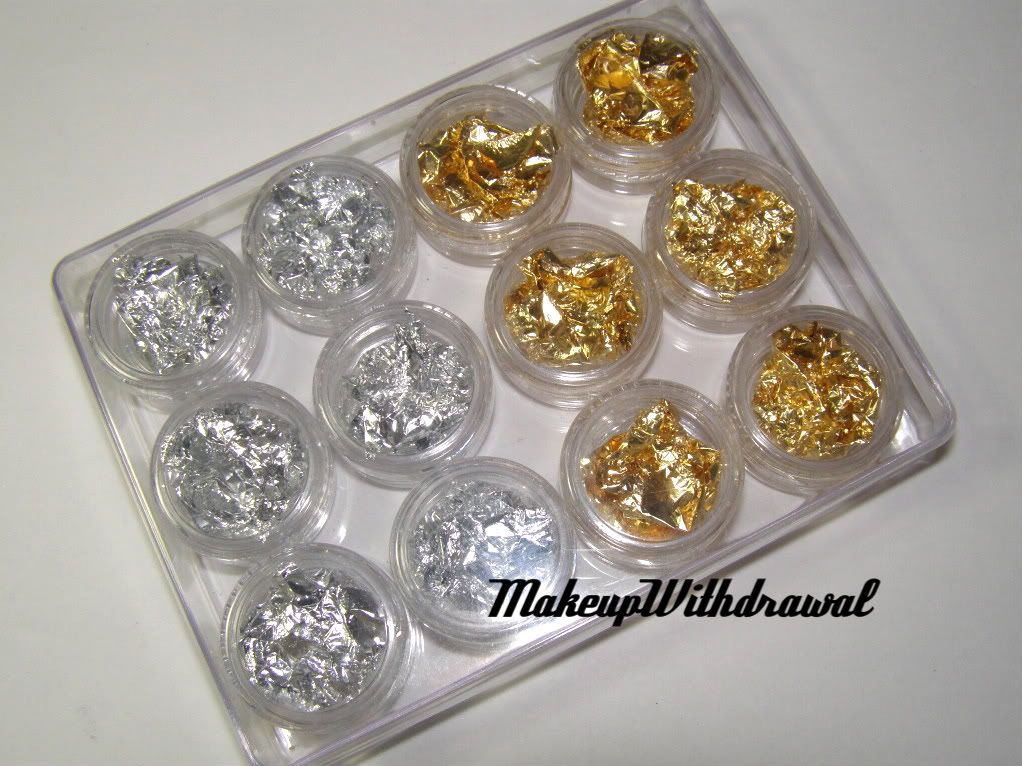
First, the nail foil. You can get gold foil from Micheals, but since I was worried about possible oxidation, I ordered nail foil from Ebay for about $4 (including s/h). *NOTE*- Make sure the foil is intended for use with acrylics or nail art, to make sure that it will not oxidize* I was sent 2 colors, silver and gold. Each sheet was about 3"x3" and packaged in its own little sample jar, and very fragile. I did one sheet at a time, and tore it into 4 sections, and worked on one section at a time. 
Using the manicure stick, I pushed the foil against the file and ground it down. It was time consuming, the duration of about 2 episodes of True Blood to do 4 sheets of foil. I didn't wear gloves, but didn't get anything stuck to my hands, think it's because I was working with a tiny bit at a time. I managed to funnel it in without mishap. 
I used 2 sheets of foil per bottle, and I guess I could have used more but I liked a less dense formula. 
Here's the silver and gold:


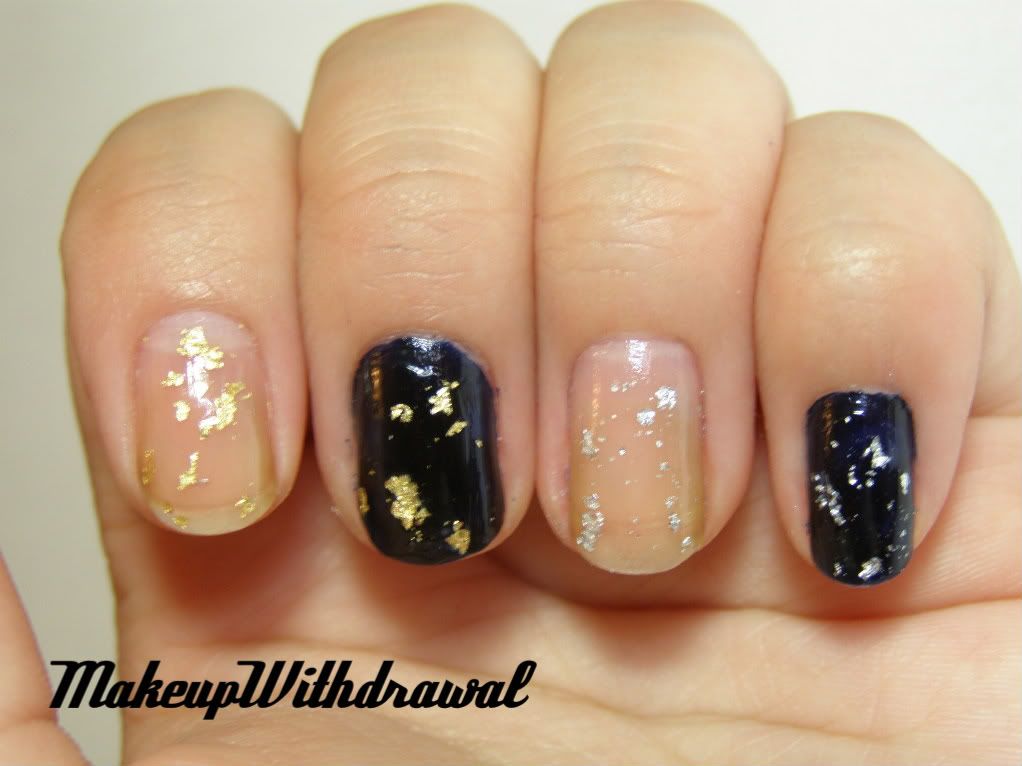
And finally, here's what it looks like on my nails! Sloppy, I know. But I wanted to get this post up and running.
Left two nails: gold foil, right nails: silver foil
Dark color is Wet'n'Wild Nocturnal 
So let's do the math: $4 for the foil + 2 hours of my time + 2 bottles of clear coat = 2 bottles of expensive looking Rococo dupe. Seems pretty good to me! Thanks again to MissHavisham for this amazing recipe.


All products mentioned/shown were purchased by me/given to me for my own use.

Good Bye, MAC Fix+

Monday, July 5, 2010
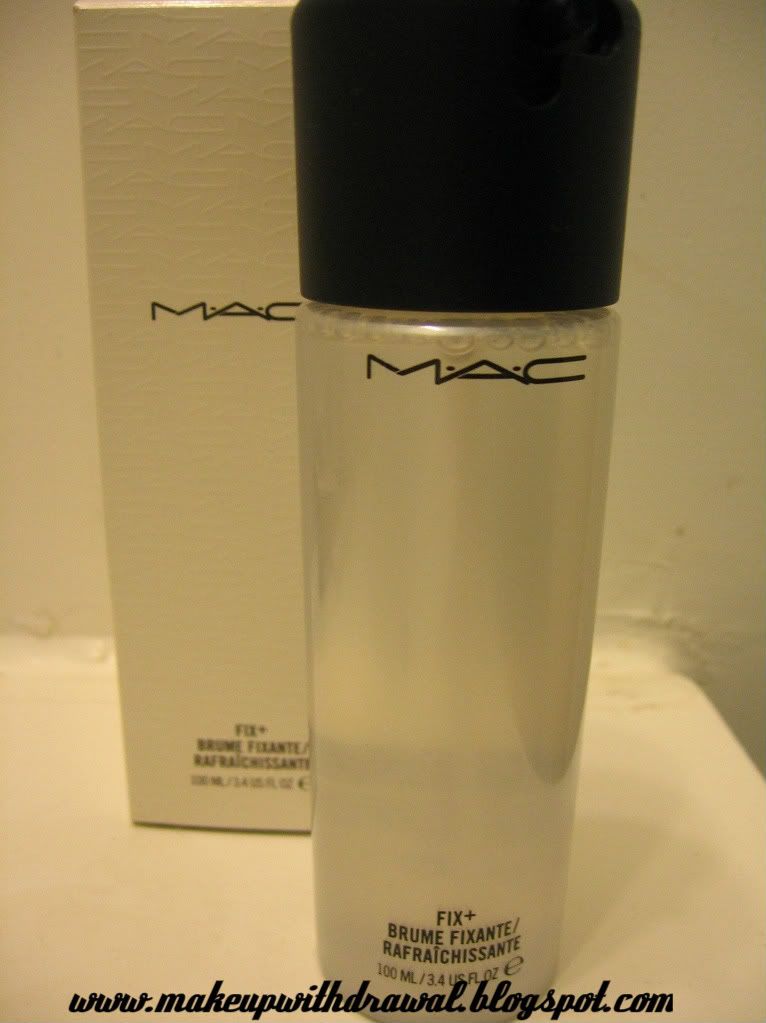
MAC Fix+, 3.4oz for $18
I used to love Fix+. I've used it every time I've applied foundation for the last... oh jeez, I don't even know. I talked about its uses in an early post, if you recall. A bottle lasts me about 6 months, so at $18 a bottle it is actually one of the cheaper skincare items that I used. Well, I ran out of the stuff two weeks ago, but didn't get around to buying a new bottle. Instead, I decided to add some rosewater to the empty Fix+ bottle and found a great dupe. Application wise, I can't tell the difference between the two at all. It doesn't feel any different on my skin, it's as effective at keeping my foundation from caking and refreshes my makeup just as well. Basically, what I'm saying is that heck, I was very wrong and that to me Fix+ is now just an expensive bottle of scented water.
Sure, there are vitamins and oils and such, but have they really effected my skin in any way? Nope, don't think so. While some people like the scent of this liquid, I personally don't really care for it.
Heritage Products Rosewater,
8oz for around $5
Some homemade versions of Fix+ call for glycerin, but I found that unless your skin is excessively dry it probably won't be necessary in addition to the rosewater. But if your skin is dry, Heritage Products (the brand that makes the rosewater that I buy at Whole Foods) actually does make a rosewater glycerin spray for about $5.

All products shown were purchased by me, for my own use.

Awesome Things to Do With NYX Pearl Manias (pt 2) (Taupe!)

Friday, July 2, 2010
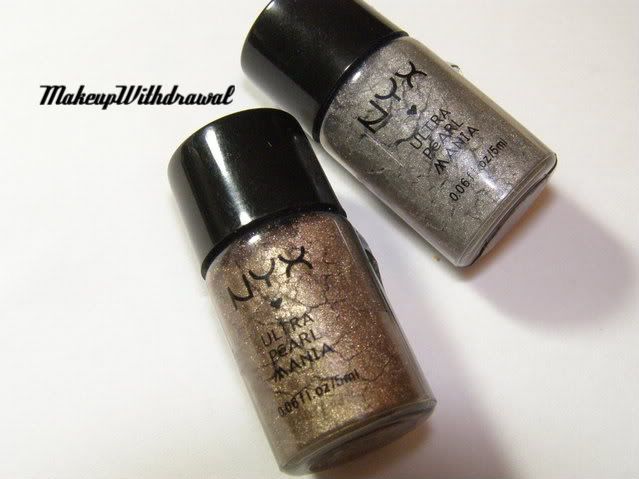
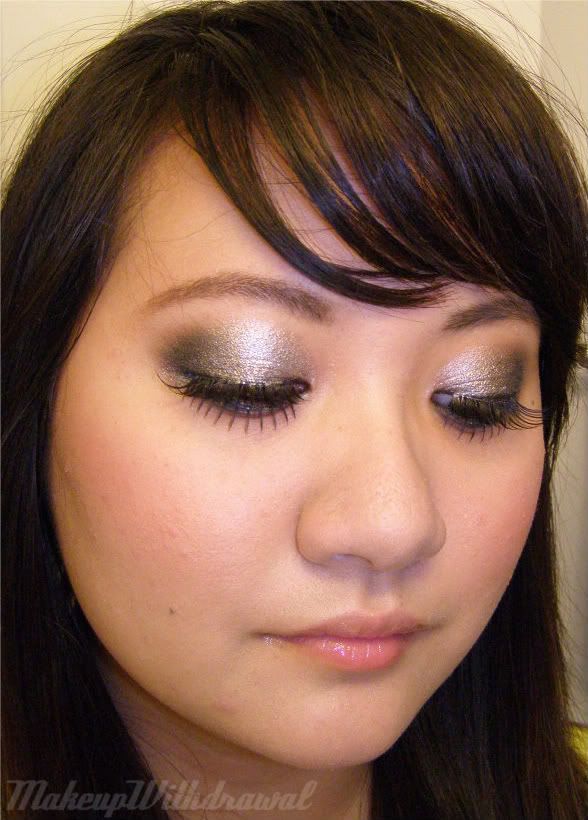
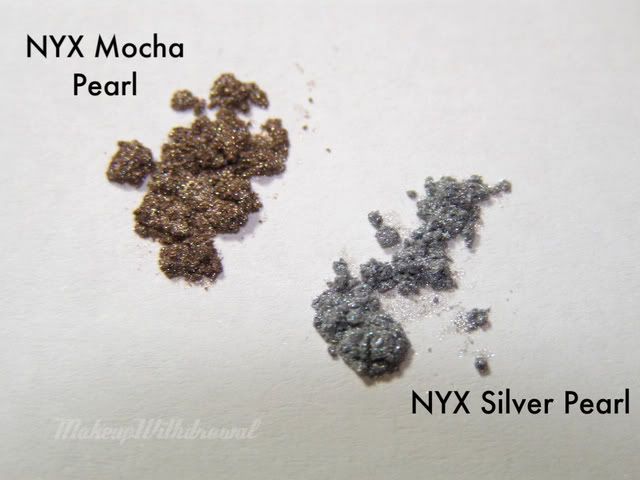
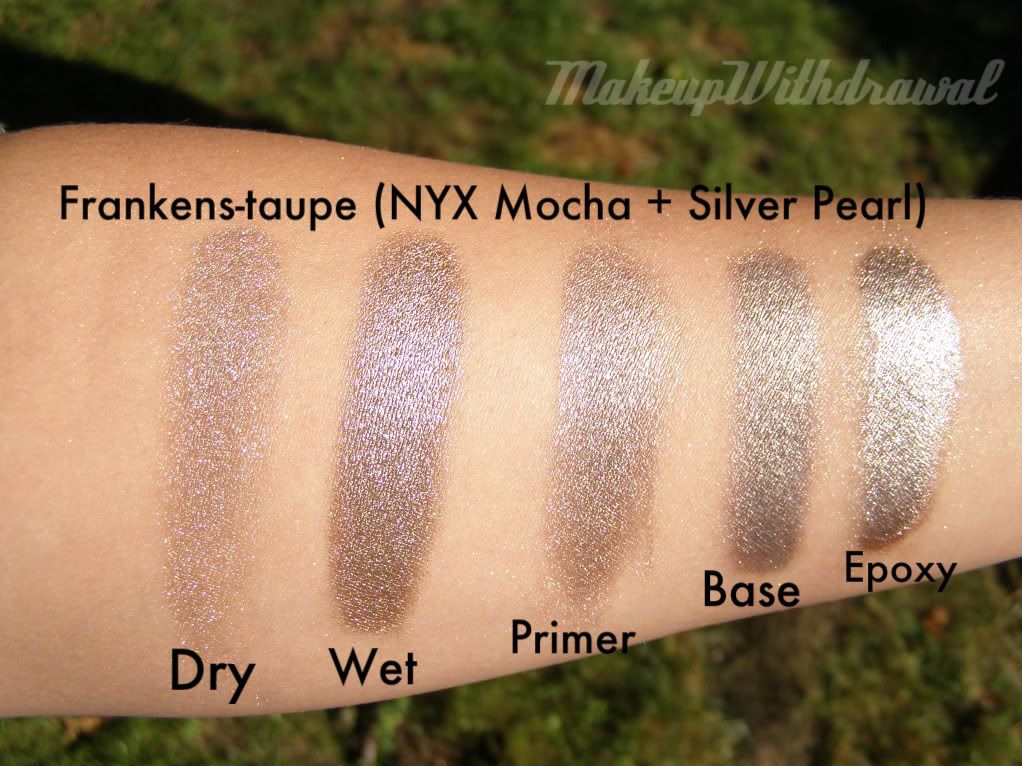
The other day I talked about NYX Ultra Pearl Manias (here) and hinted at a wonderful world of do-it-yourself that involved them. Today, I reveal the amazing beautiful taupe that I dubbed 'Franken-Taupe'. Ok, in the picture it says, 'Frankens-Taupe', but that just doesn't roll off the tongue well.
Remember this FOTD? That's me, with the
taupe!
I feel like the following pictures say it all! The recipe is simple, 1 part Mocha Pearl mixed with 1 part Silver Pearl. Easy, peasy.

Click any image to enlarge!
So that's the secret to this beautiful, almost metallic taupe. It's so much prettier in real life, honest- pictures don't do it justice!

Items shown were given to me as gifts, for my own use.


DIY Mineral Makeup

Wednesday, December 16, 2009
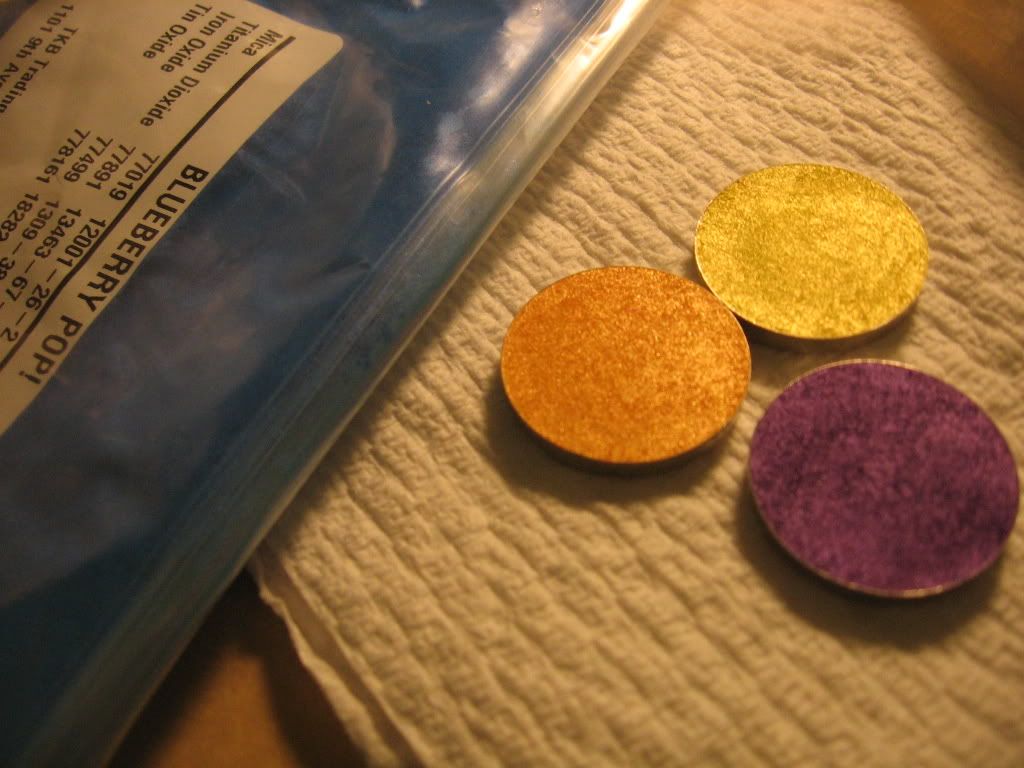
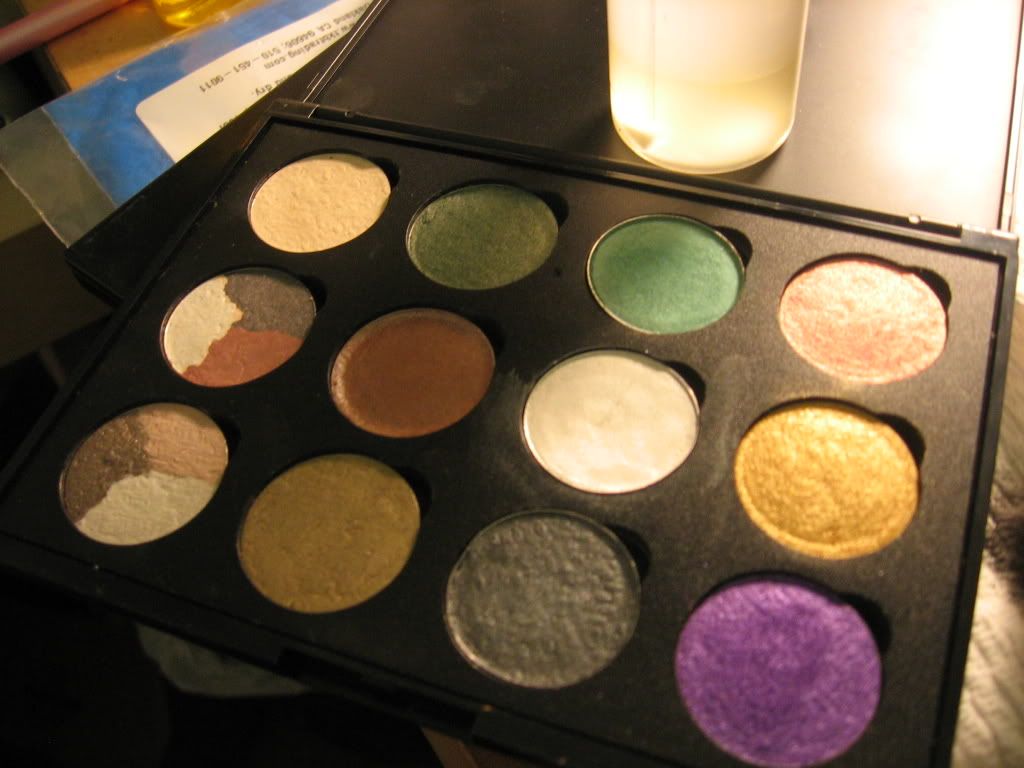
Ok, so I haven't posted in a about a week, but with good reason. A week ago, I got my orders from CoastalScents.com and TKBTrading.com. It was better than Christmas. I had ordered an EZ Eyeshadow kit from TKB as well as some samples of mica to supplement it (various metallics and neutrals). I also bought some 12 slot empty magnetic 26mm eyeshadow palettes (and smaller slotted ones to fill up as presents!) from CS, empty 5g jars and shrink wrap (the professional in me demanded quality packaging even if the recipients are my friends and family) from TKB and other odds 'n' ends.

The point being is that in the past week, I've been so busy playing alchemist that I haven't even noticed the time fly.  I even ordered some more stuff immediately, so that I would have plenty to play with.
I can't help but say great things about both TKB and CS. TKB amazed me with the eyeshadow kit, I'll be honest, for $19 I wasn't expecting much. But it came with a ton of mica, so much that even though I've made roughly 15 colors of about a tablespoon each of powder, I'm no where close to running out. $19 dollars for the ability to customize my eyeshadow colors? I'll take that, thank you very much. On top of the great price, the mineral eyeshadow I made was so so so good, I'll have to bust out the thesaurus to properly declare my love for it. The color payoff is unbelievable. I don't understand why most of the mineral eyeshadow colors I see play it safe with 'gentle' shades. The colors I formulated almost made my eyeballs pop out, that's how vivid they are. Great staying power but the consistency still needs a little work- I'll have to tweak the ingredients a bit. However, used wet the shades are simply beyond stunning.
I made a really good dupe of MAC Vanilla (which saves me a ton of money because I use it so often!) and made a few colors that were really similar to some MAC pigments that I had. Think about it: if you even match two MAC colors, you've already paid for your purchase. You can find a video on how to match colors  on the TKB site.

I also bought a bottle of EZ Prez Pressing Medium from Coastal Scents to press all my creations. I liked the formulation, it left my homemade mineral shadows very smooth. It's important to use a medium with silicone to bind mineral makeup together, or else it ends up dull and flakes easily. However, with pigments such as those from MAC, you can just use rubbing alcohol. What I didn't like is that when I got the pressing medium, it had spilled quite a bit out of the bottle (about 1/4 of the product) and into the bag it was in and quite messy. The spilled medium even dissolved the lettering on the label of the bottle, pretty freaky. The bottle is also hard to use, you end up spilling and leaking more of the fluid than you actually end up using. Crappy. I'll buy some from a different company next time. Here's the colors I made (the photo with the named colors) and some of my old MAC and Chanel colors that I depotted/mixed/pressed.

Daily Brush Cleaning

Friday, December 4, 2009


I strongly encourage everyone to clean their brushes everyday. It keeps them bacteria free- which makes for better skin. It also allows you to keep your makeup colors pure, and not become muddy brown due to accidental mixing. That being said, I find it slightly ridiculous to buy daily brush cleaner (or even buy regular brush cleaner). So I looked at the ingredients of a few daily brush cleansers, and made my own. Sephora Brand Daily Brush Cleaner contains: "5% of non-ionic surface agencts, alcohol, fragrance". What! I'm paying for alcohol? E.l.f.'s Daily Brush Cleaner isn't much better: "Water(Aqua), Alcohol Denat,Cocamidopropyl Betaine, Methylparaben". Great, parabens + other things I can't pronounce, alcohol and good ole H2O. Not exactly my idea of money well spent. 
So here is my recipe for daily brush cleaner:
-Spray bottle
-4 tablespoons of isopropyl alcohol 
-4 tablespoons of water
-2 tablespoons of makeup remover (Any kind found at the drugstore is fine)
- 1 tablespoon of glycerin
Now, the glycerin isn't really necessary, but since the alcohol is very drying (which is good for daily cleansers because you want it to dry between different products ASAP!) and some times it can curl low quality hairs, I added a bit of it to protect and hydrate the brush. Like all my recipes, I like to make small quantities and remake it fresh every week. 
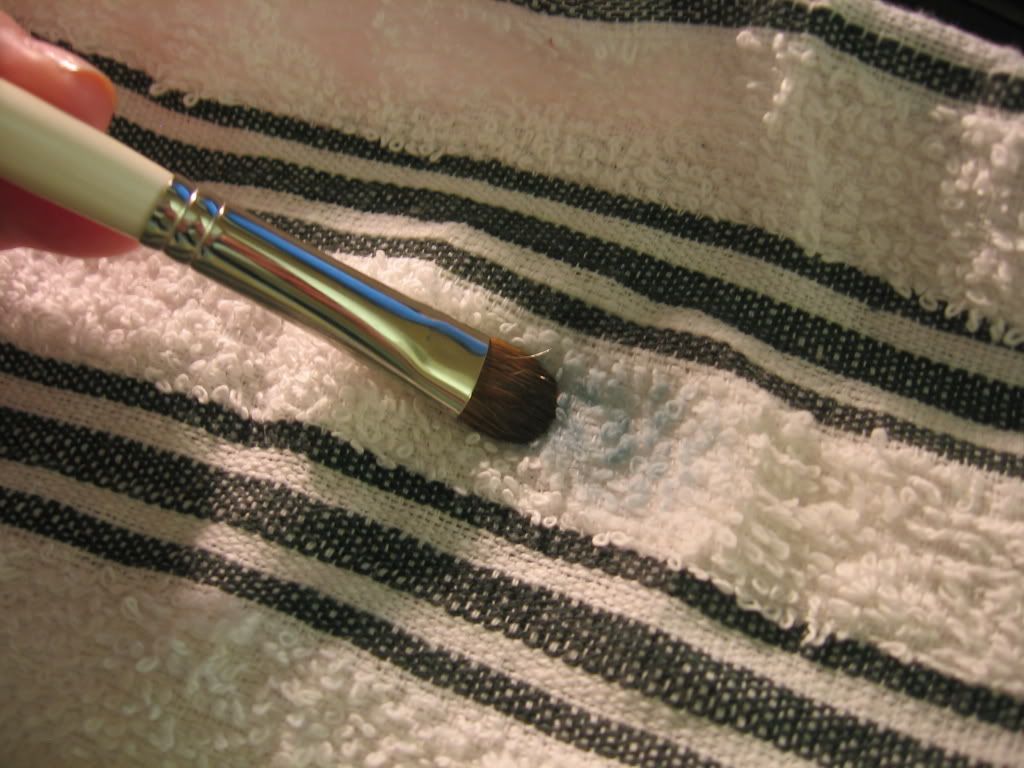
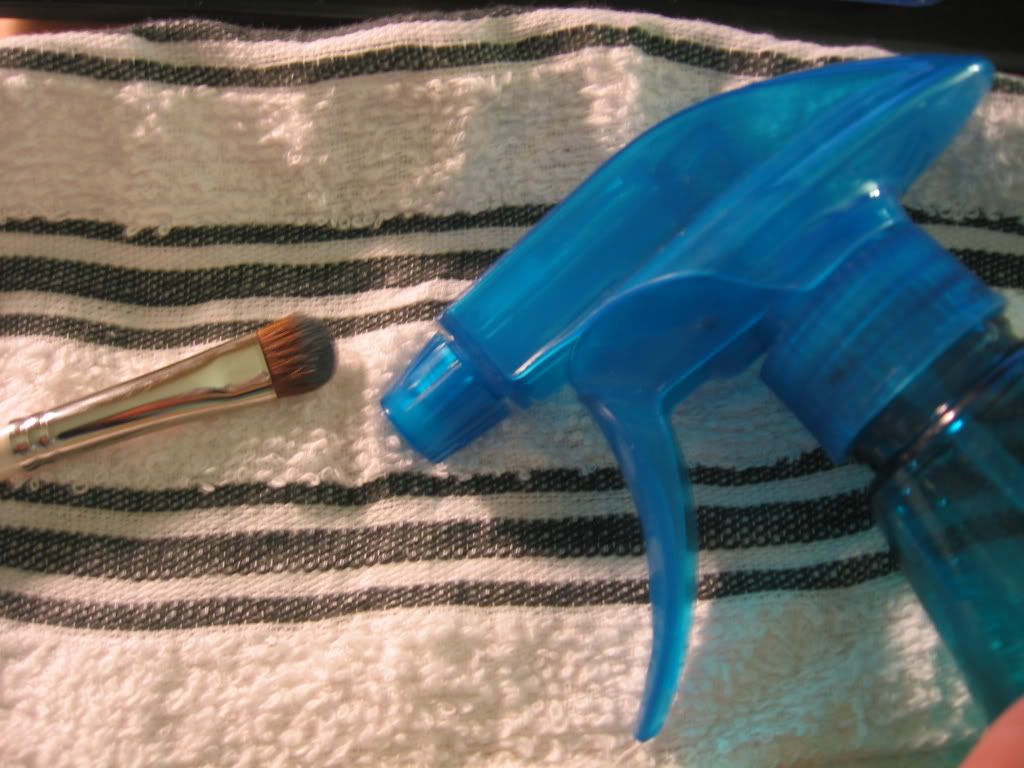
I don't recommend spraying it directly onto the brush- I find that it's pretty harsh on the hairs( you can disregard this if you use synthetic or bamboo brushes). Instead, I spray some onto a clean hand towel and use a back and forth sweeping motion to gently clean off any makeup. In addition, I also condition my brushes with regular hair conditioner every week or so, to soften the hairs and get rid of any alcohol smell.