How To Revive Any Polish by Emi of Project Stash
Friday, December 28, 2012
Hi folks! Sorry for the absence. I had a bit of technical difficulty with Disqus but everything is back to normal now. Today I have another guest post for you. Emi from Project Swatch (which by the way, has REALLY great pictures and in depth reviews. You simply must follow her) graciously wrote a very helpful post about restoring nail polish. I'm always shocked to hear when other people throw away old polish!
______________________________________________________________________

 Next,
I took my bottle of nail polish thinner, and poured quite a lot –
enough to almost fill up the bottle, but leaving about half a
centimeter of room at the top, to more easily be able to mix it up.
If you’re not sure how much thinner to use, err on the side of
using less – you can always add more later. I use Orly nail polish
thinner, but any almost nail polish thinner should work just fine;
make sure it doesn’t contain acetone – a couple of the cheaper
thinners do, and the acetone can eventually harm the polish.
Next,
I took my bottle of nail polish thinner, and poured quite a lot –
enough to almost fill up the bottle, but leaving about half a
centimeter of room at the top, to more easily be able to mix it up.
If you’re not sure how much thinner to use, err on the side of
using less – you can always add more later. I use Orly nail polish
thinner, but any almost nail polish thinner should work just fine;
make sure it doesn’t contain acetone – a couple of the cheaper
thinners do, and the acetone can eventually harm the polish.

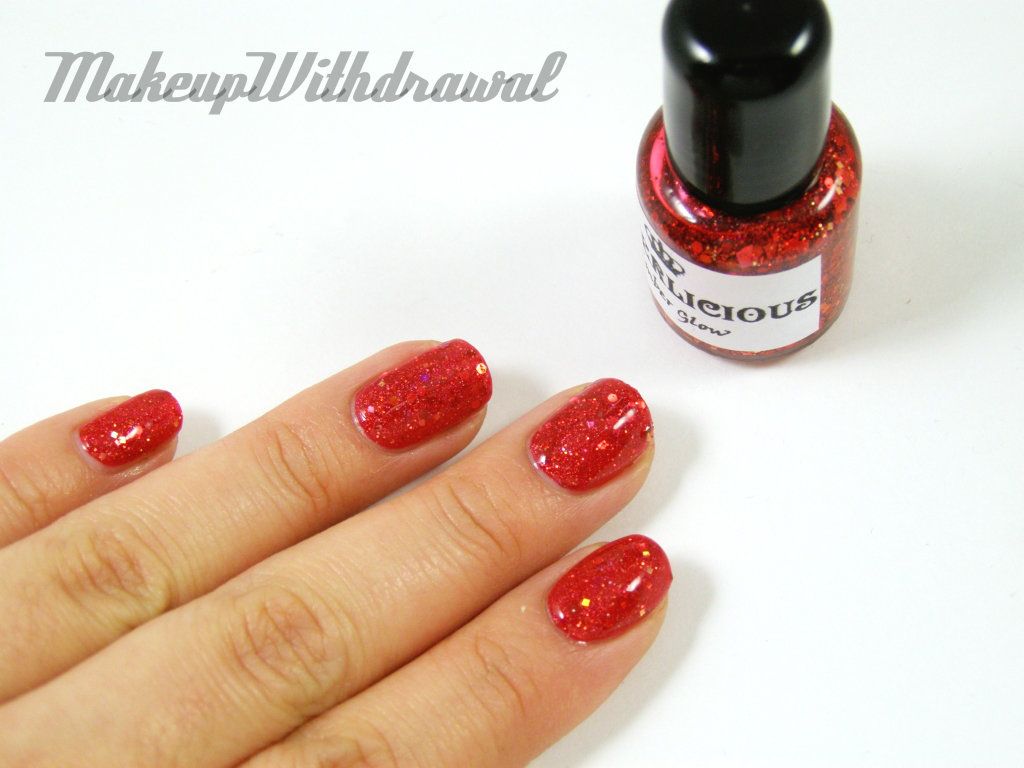
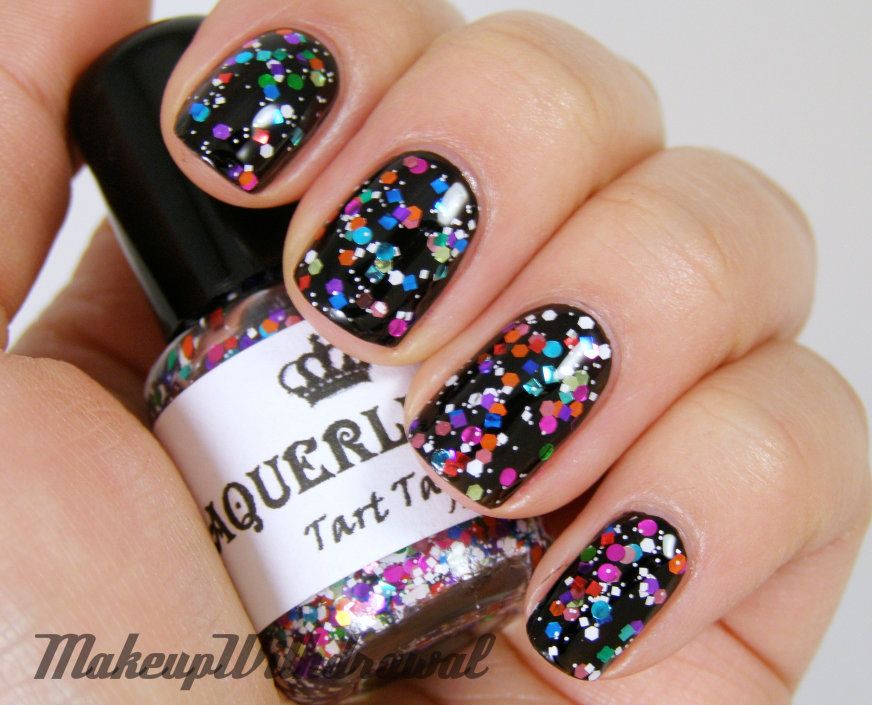
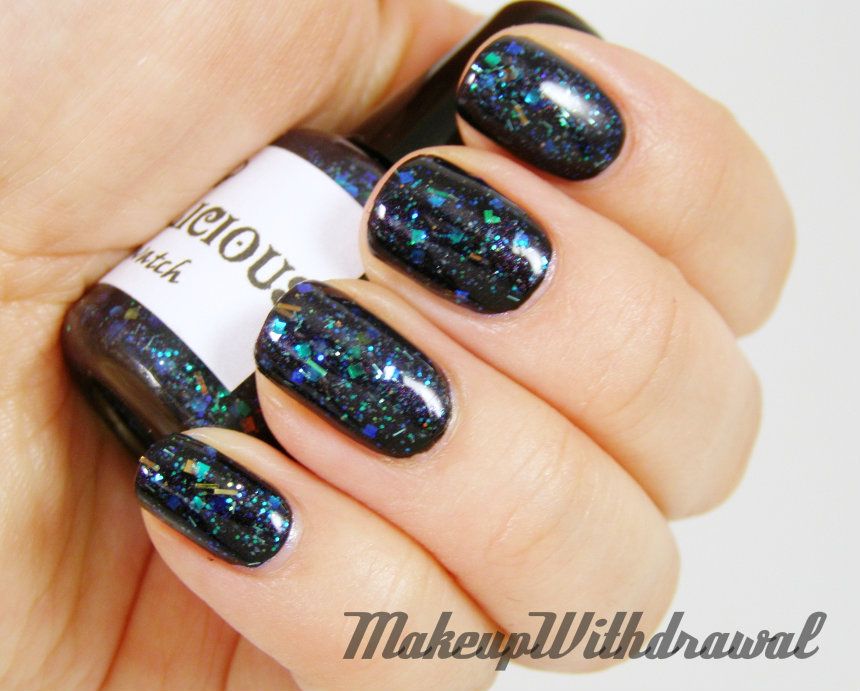
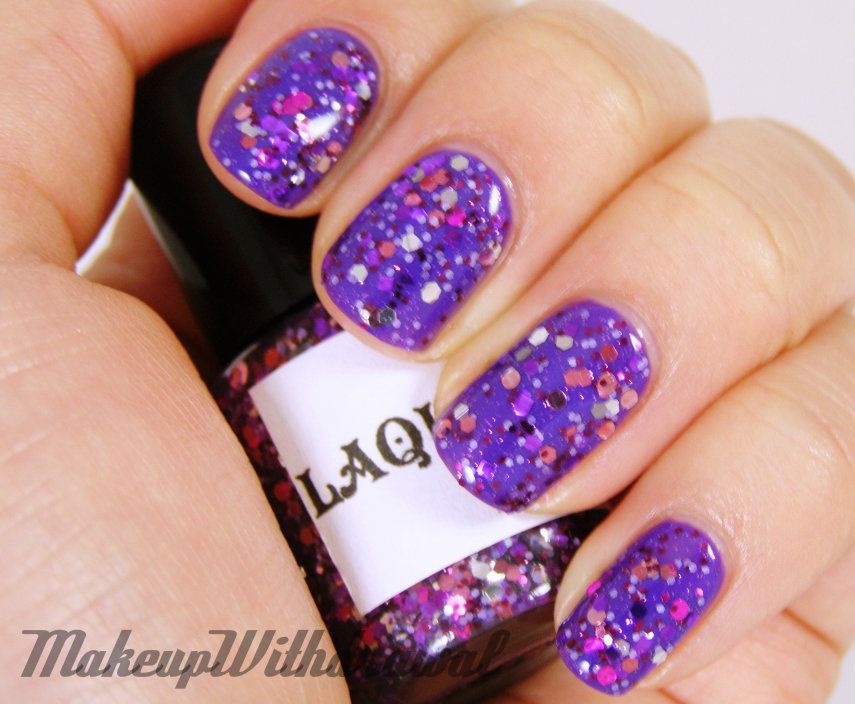
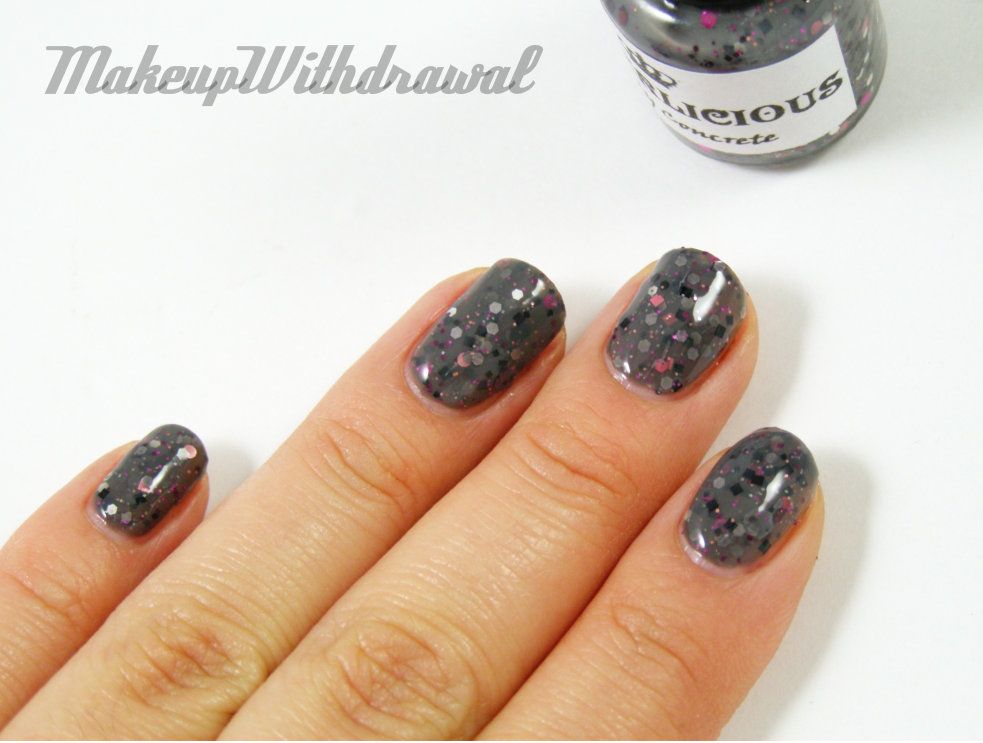
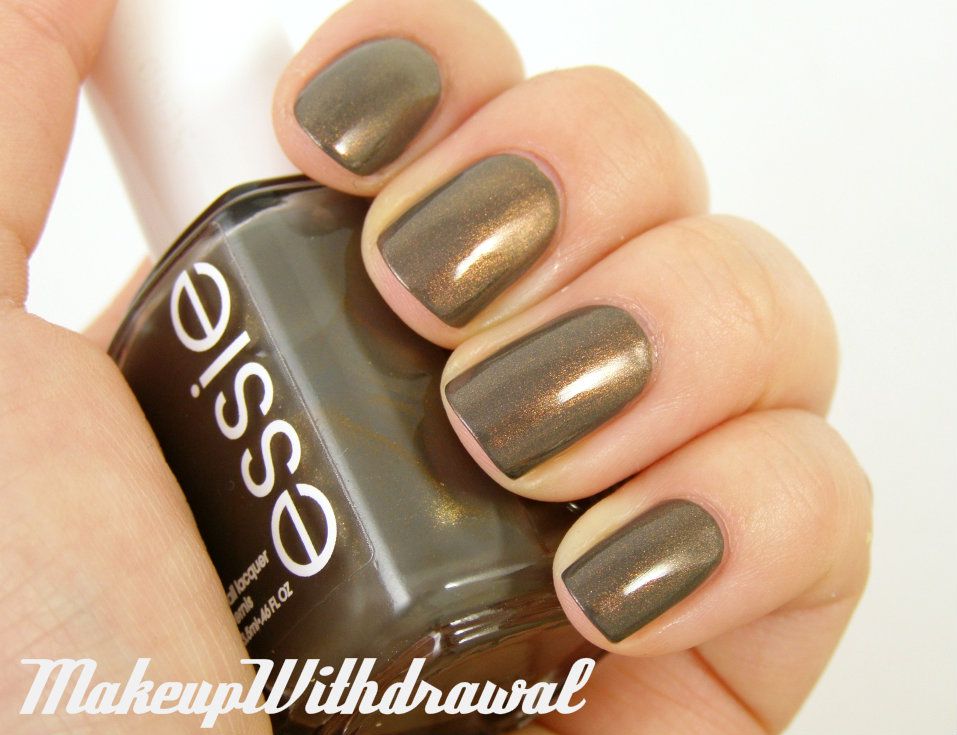
As you can see, Harsh has been fully restored. It’s on the thin side for a glitter, though it’s still a bit thicker than most crèmes, and it’s very easy to use. If you use multiple coats, it does dry on the slow side – I’m not sure if that’s because it has dried out and been restored, or if it’s just a slow-drying glitter. It’s mostly opaque in two coats, but I prefer it as a one-coat glitter topper.


______________________________________________________________________

Nail
polish doesn’t go bad – ever. It can separate, but shaking it up
will mix it back together. It can thicken, but you can thin it out
with nail polish thinner (never use acetone or nail polish remover,
as it will eventually destroy the polish). Nail polish can dry up
completely, but even then, it can be revived.
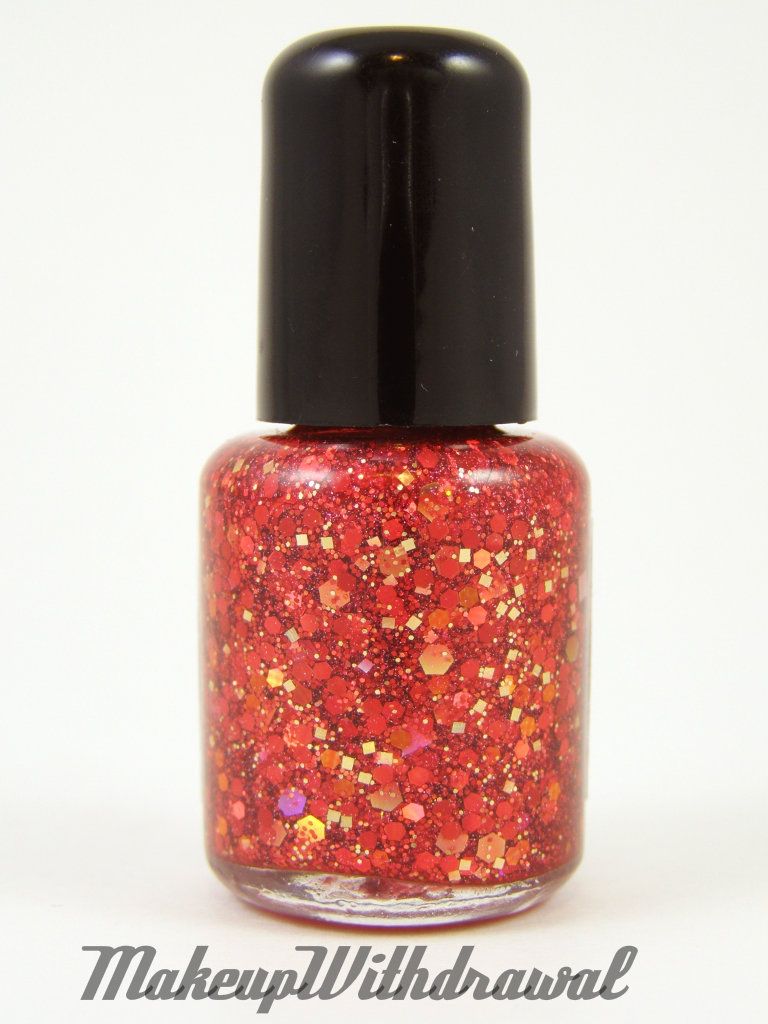
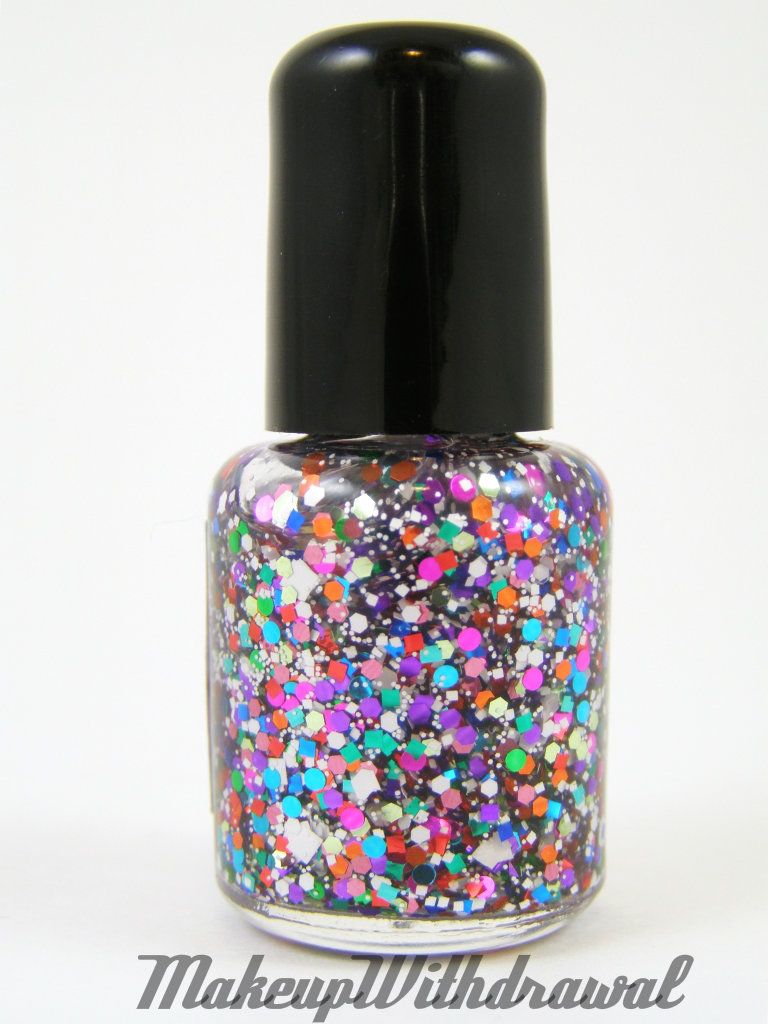
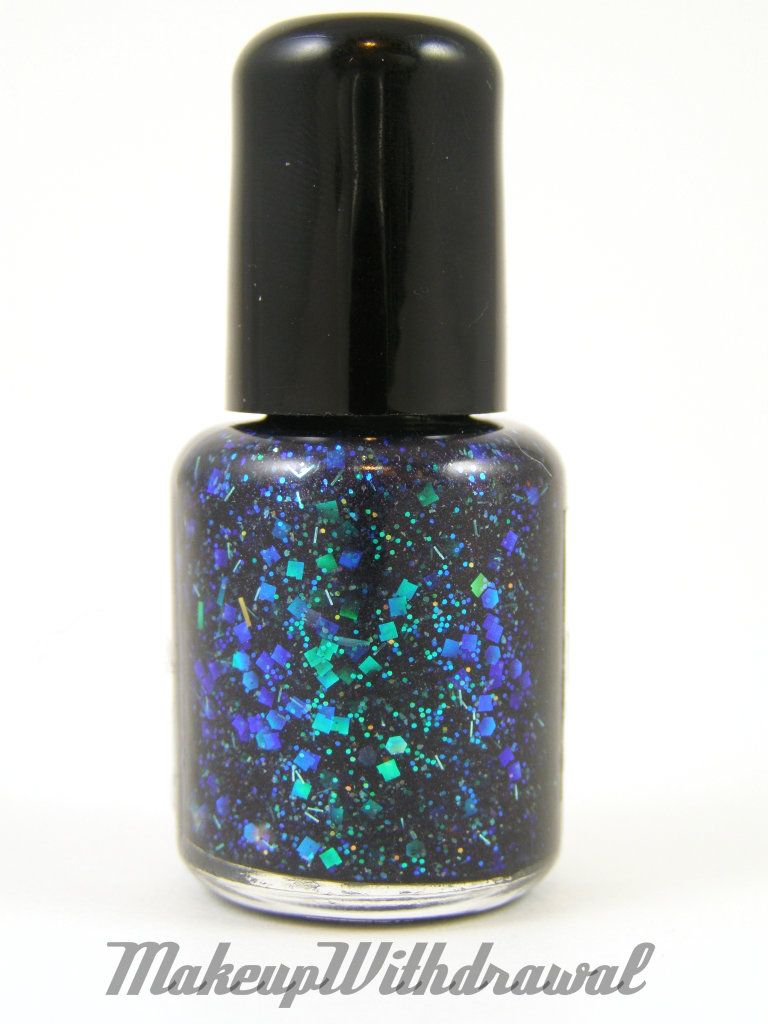
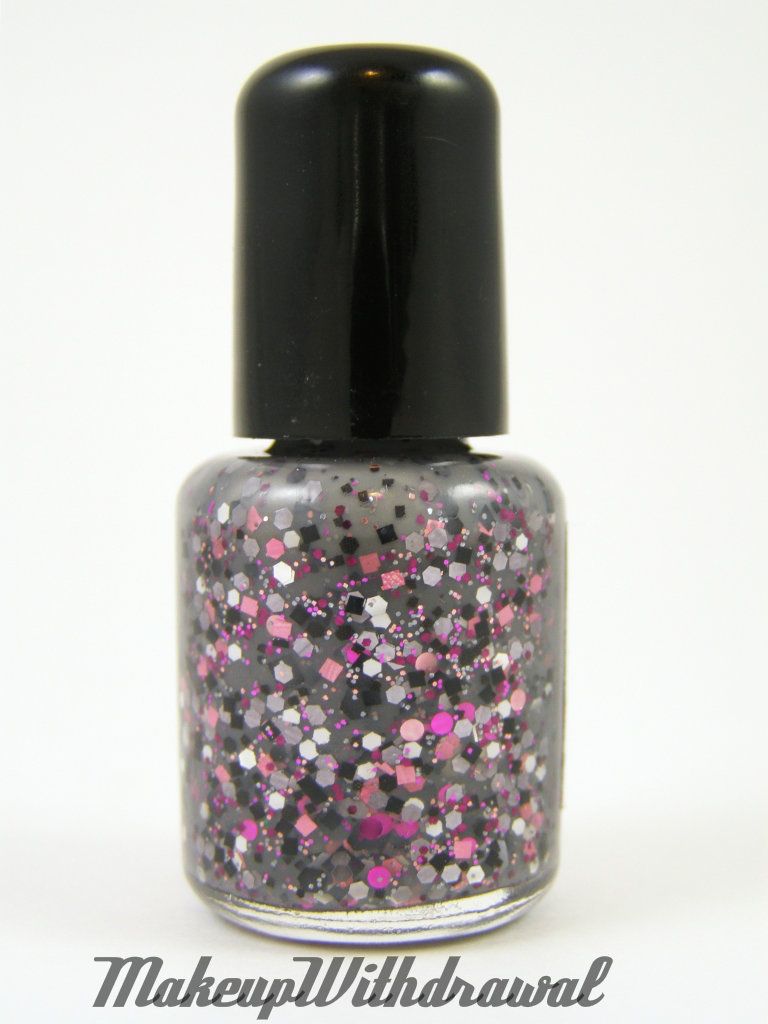
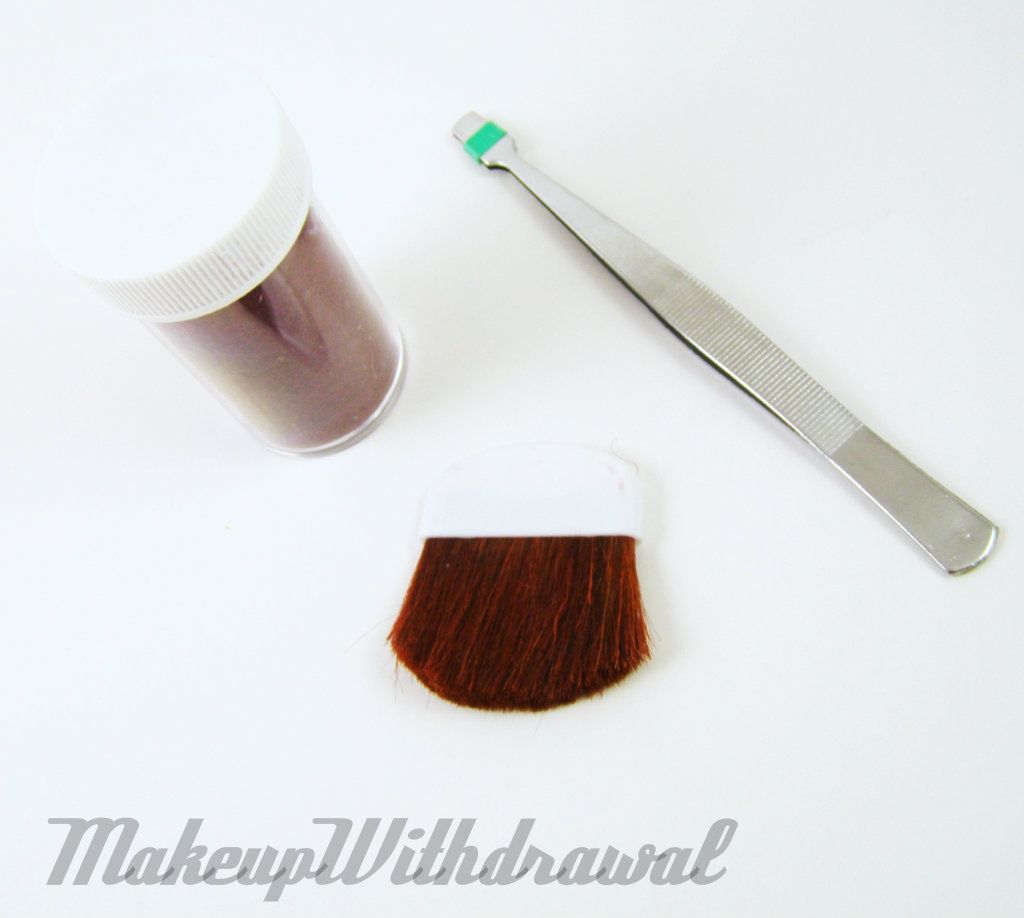
A
friend of mine recently received a dried up bottle of Illamasqua
Harsh nail polish in the mail. She preferred to get a replacement,
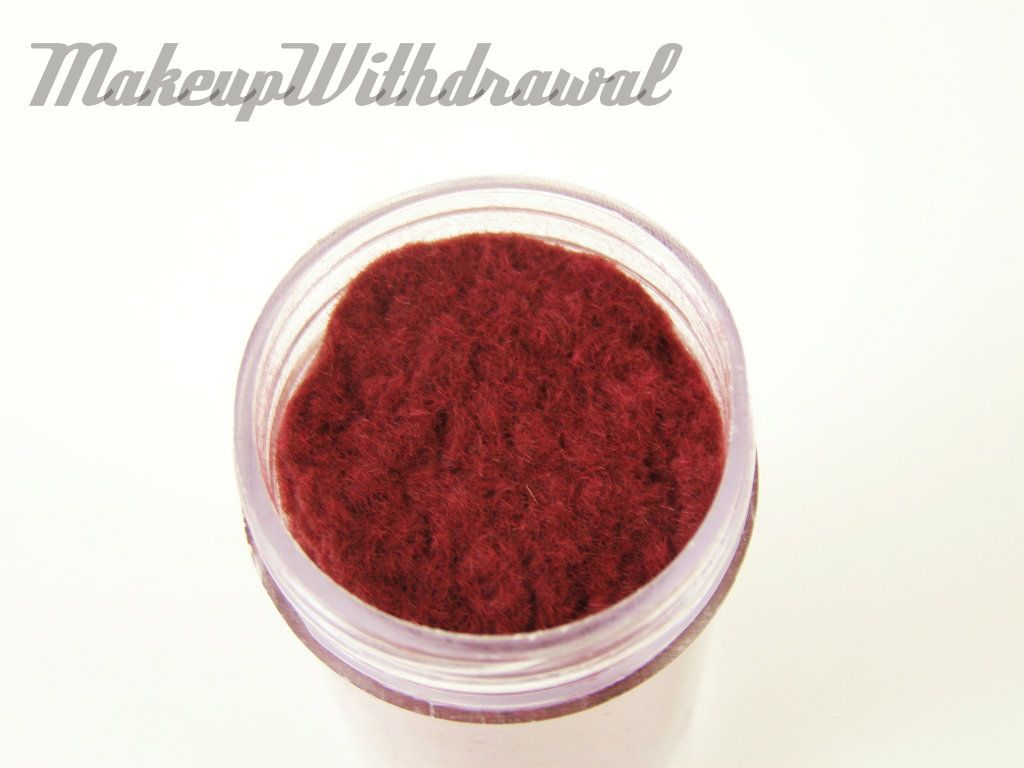
and she gave me the bottle of dried up polish to revive! As you can
see, it is completely dried up and the polish doesn’t move at all.
However, the polish was still soft enough that I was able to easily
pull out the brush, which is step one.

I
then used a toothpick to stir the thinner into the polish. Once it
was somewhat mixed in, I shook it for a while. The polish became
useable immediately, but I actually found that it was a better
consistency the next day (after re-shaking) – perhaps because after
sitting, any remaining lumps had dissolved in the thinner.

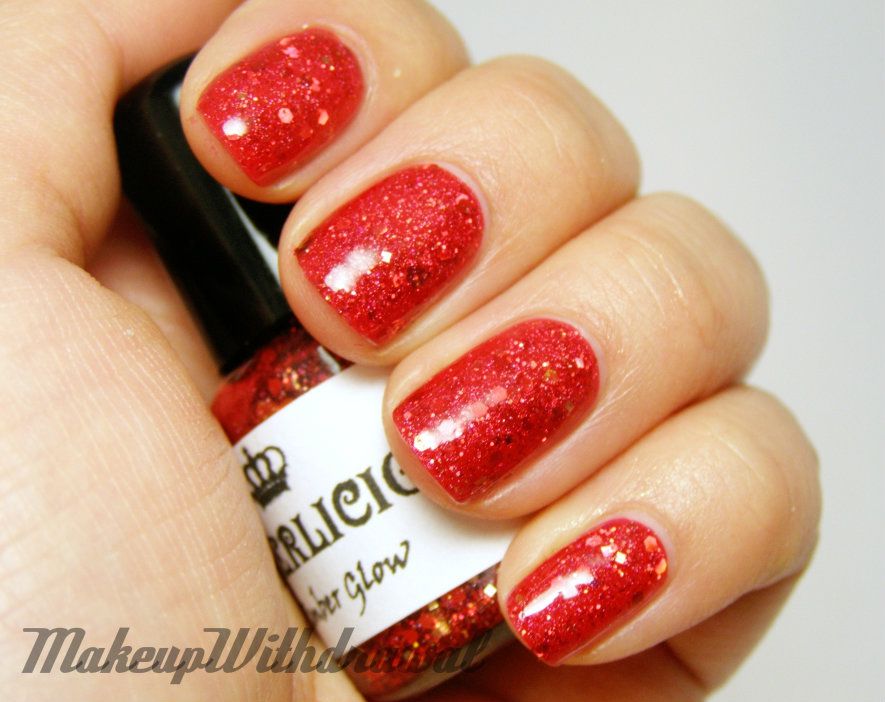
As you can see, Harsh has been fully restored. It’s on the thin side for a glitter, though it’s still a bit thicker than most crèmes, and it’s very easy to use. If you use multiple coats, it does dry on the slow side – I’m not sure if that’s because it has dried out and been restored, or if it’s just a slow-drying glitter. It’s mostly opaque in two coats, but I prefer it as a one-coat glitter topper.
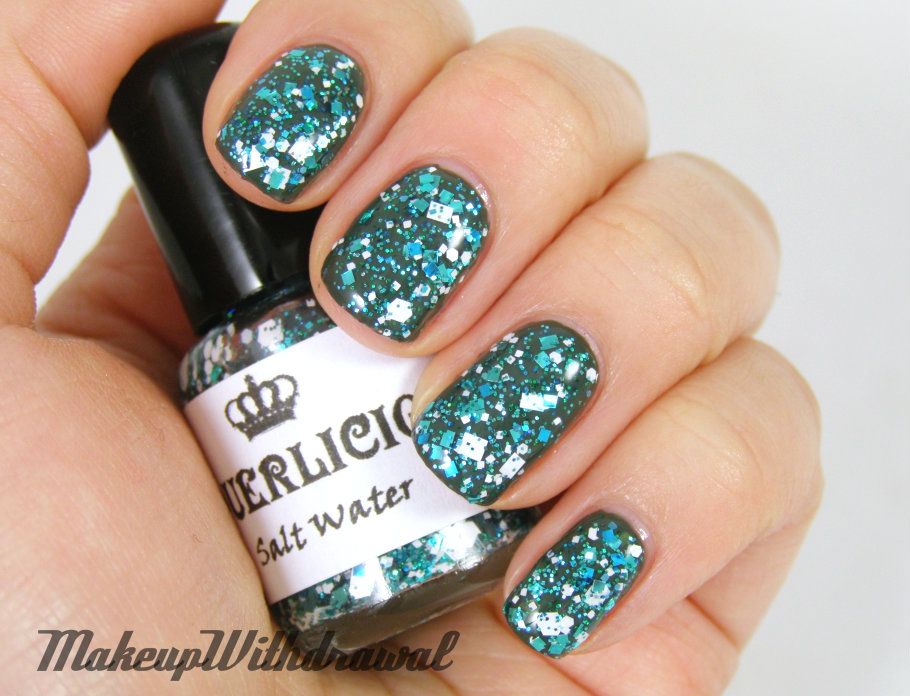
Here
is one coat of Harsh swatched over a black crème:

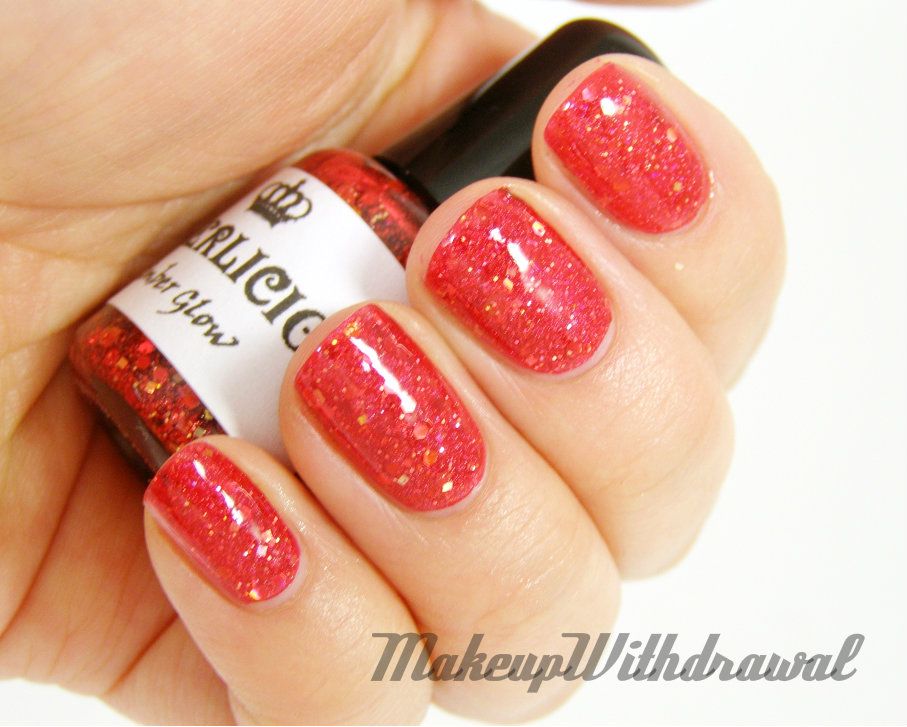
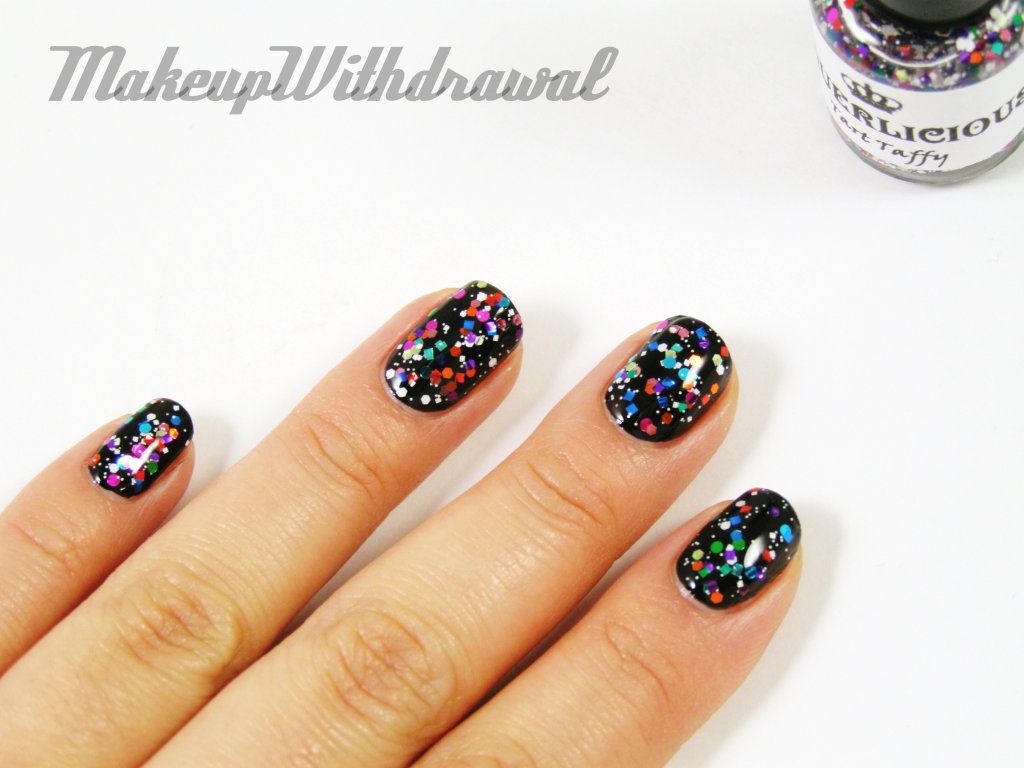
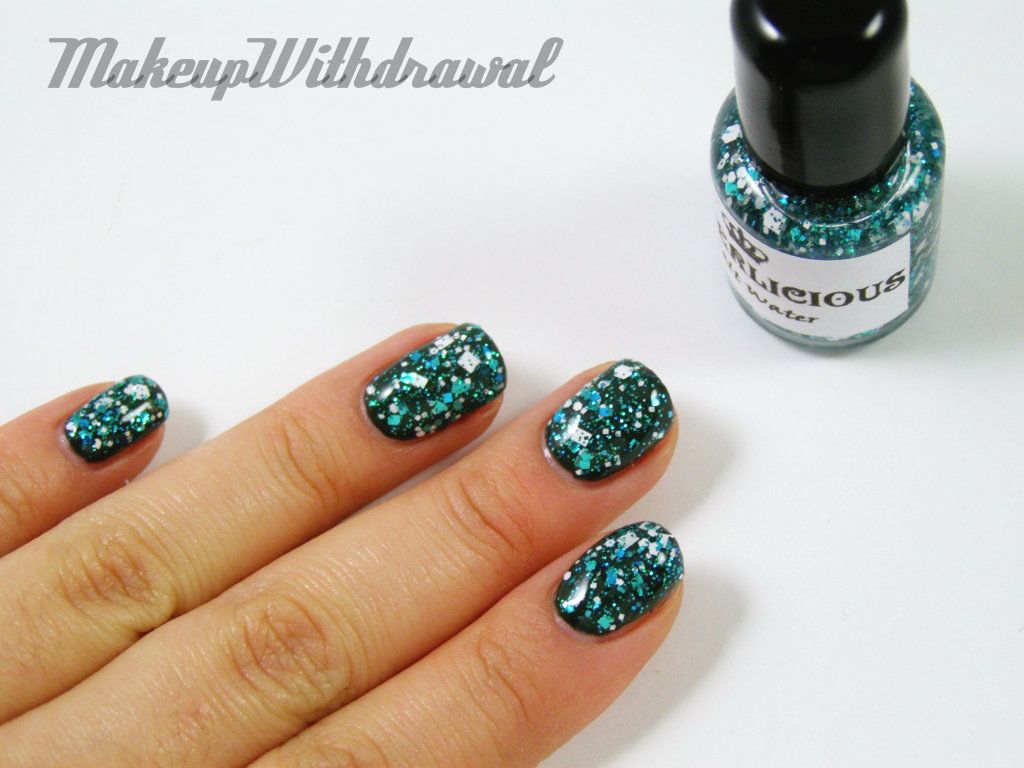
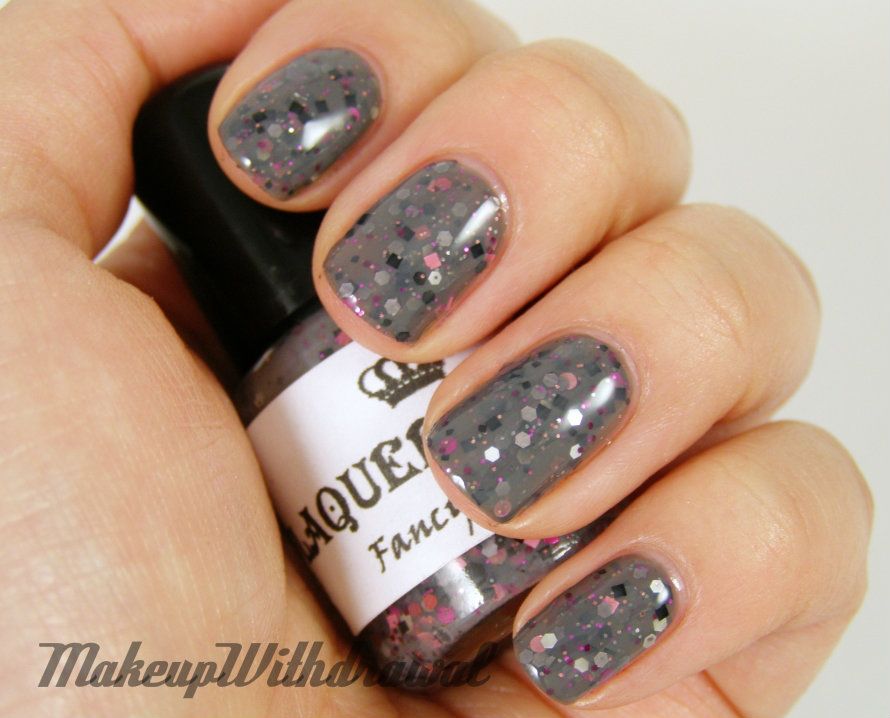
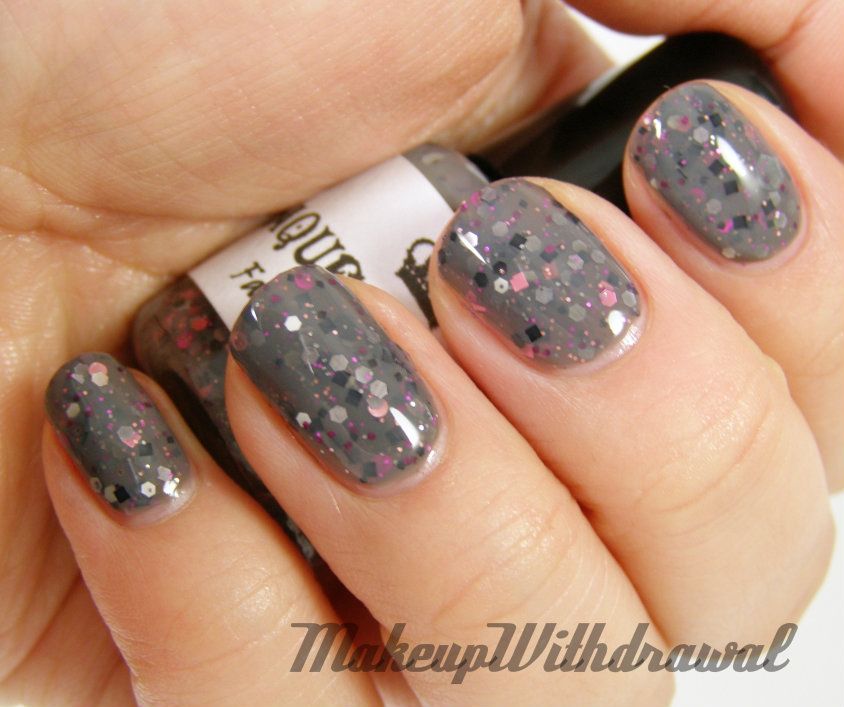
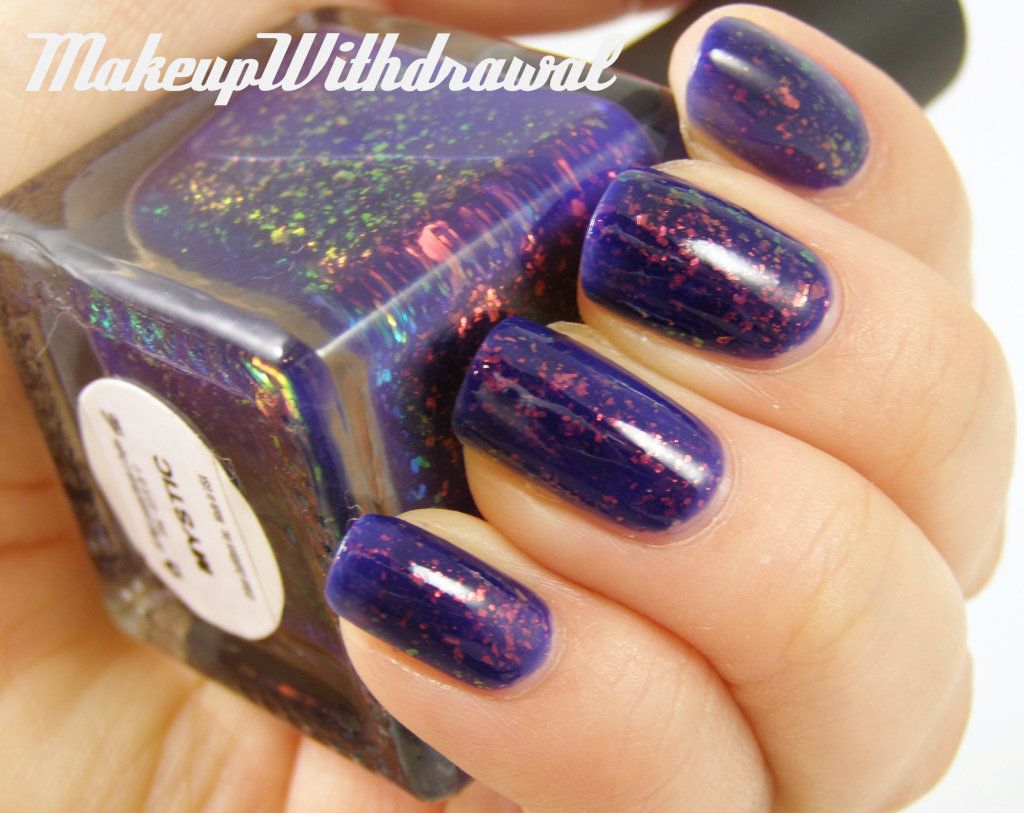
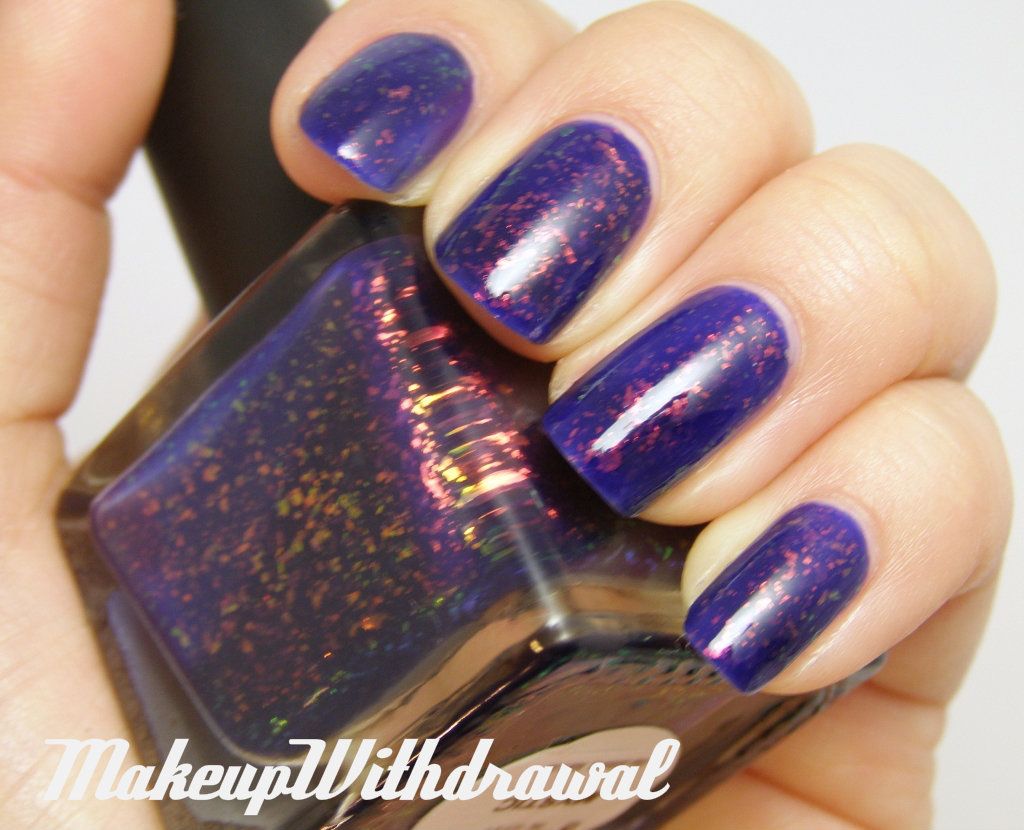
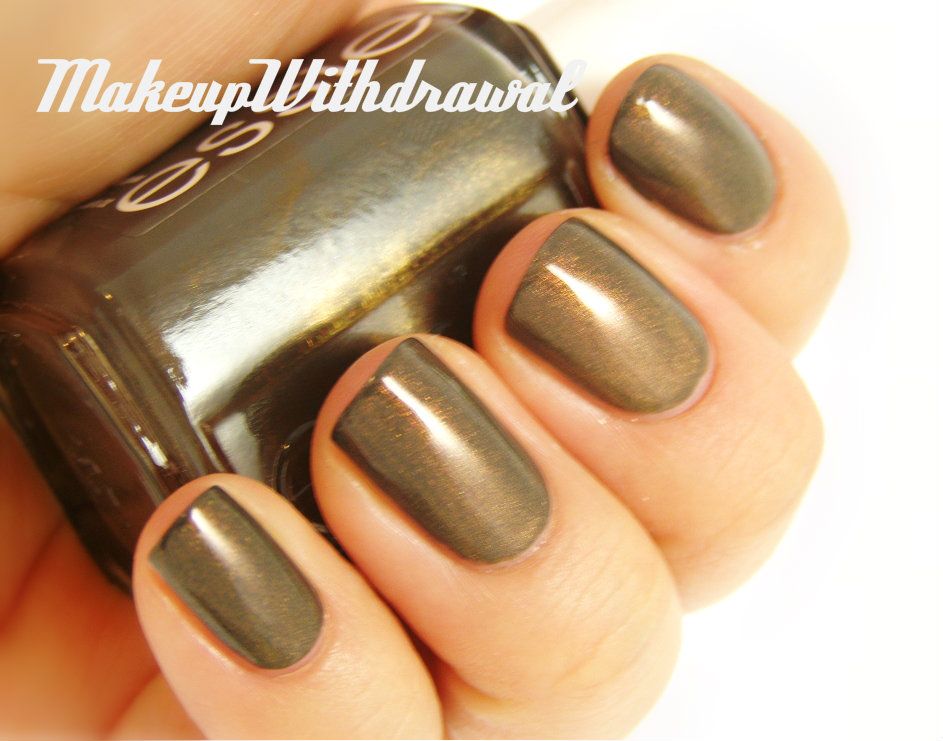
And
here are two coats on a swatch stick:

____________________________________________________________________________
Thanks Emi for that great post! You really should check out her blog- Project Swatch.
Informative, no? On a personal note, I find myself preferring ethyl acetate and butyl acetate thinners like Zoya Renew and Orly Lacquer Thinner for my Big 3 free polishes. For Seche Vite, I like using Seche Restore which has toluene. So now you know! Don't ever toss those precious old bottles of polish away. Some vintage polishes are so unique in color, it'd be shame to just throw them away.
Have you ever thrown away a bottle of polish simply because it was dried up?