Showing posts with label Makeup technicques. Show all posts

Eyeliner Sandwich Technique

Friday, July 20, 2012
Come on, this post's title involves the word sandwich. How could you not want to know more?

It's been ridiculously hot this summer in Minnesota, with temperatures in the 90s and uncomfortable humidity. My skin has been super oily and sweaty, meaning that my eye makeup pretty much melted off each day. While searching for a way to make my liner stay, I discovered a way to also really make the colors pop.

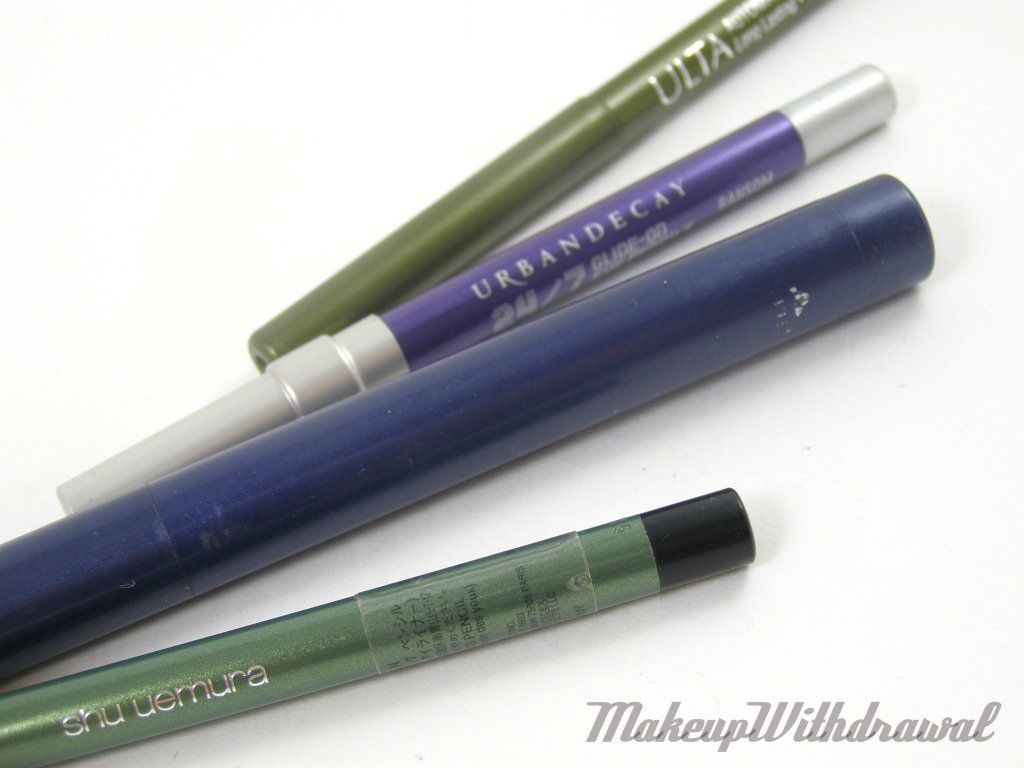
I own a few liners that are sort of sheer. Interesting colors, but not very good payoff. You know when you line your eyes over and over again with the pencil, and even after layer after layer it still looks rather weak? So, the eyeliner sandwich was born.

After applying my eyelid primer (I use either LORAC Behind the Scenes Eye Primer or e.l.f. Eyelid Primer if I'm only doing a wash of color) and apply my shadows, I start with one layer of eyeliner. I then take a black shadow (I've been working with matte ones like Calvin Klein Night Dusk or Rock & Republic Fatalistic) and a small brush (I prefer angular) and apply it on top, firmly patting it into the shadow. Then, apply the eyeliner again on top.

Here, I've used L'Oreal HiP Cream Crayon in Intricate sandwiched with Urban Decay Perversion shadow.
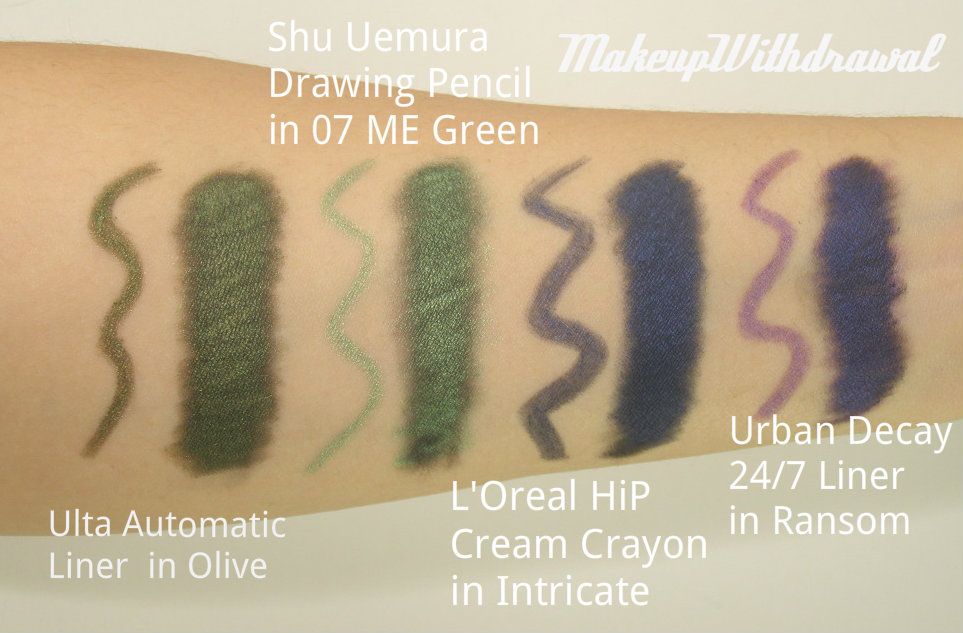

I've been really thrilled with the results. Colors that were just 'meh' on their own now have really great color payoff. Vibrant jewel tones that I've wanted all along. This has let me rediscover some products that I've literally left sitting untouched in my stash for forever (like that Shu Uemura Drawing Pencil and that L'Oreal HiP Cream Crayon) just because the color was so sheer and hard to work with. These swiggles on the left are of the liner by itself, the right patch is after it has been layered with black shadow. Best of all, my eyeliner has been lasting all day even through the heat.

Have you tried something like this before? I know that some people use black shadow on top of their liner to set it.

Some of the products in this post were given to me as a gift by family and friends. The rest I purchased for my own use. For additional information, please refer to my Disclosure Policy. 
Pretty in Pink Look

Friday, January 1, 2010

A Salute to Youth
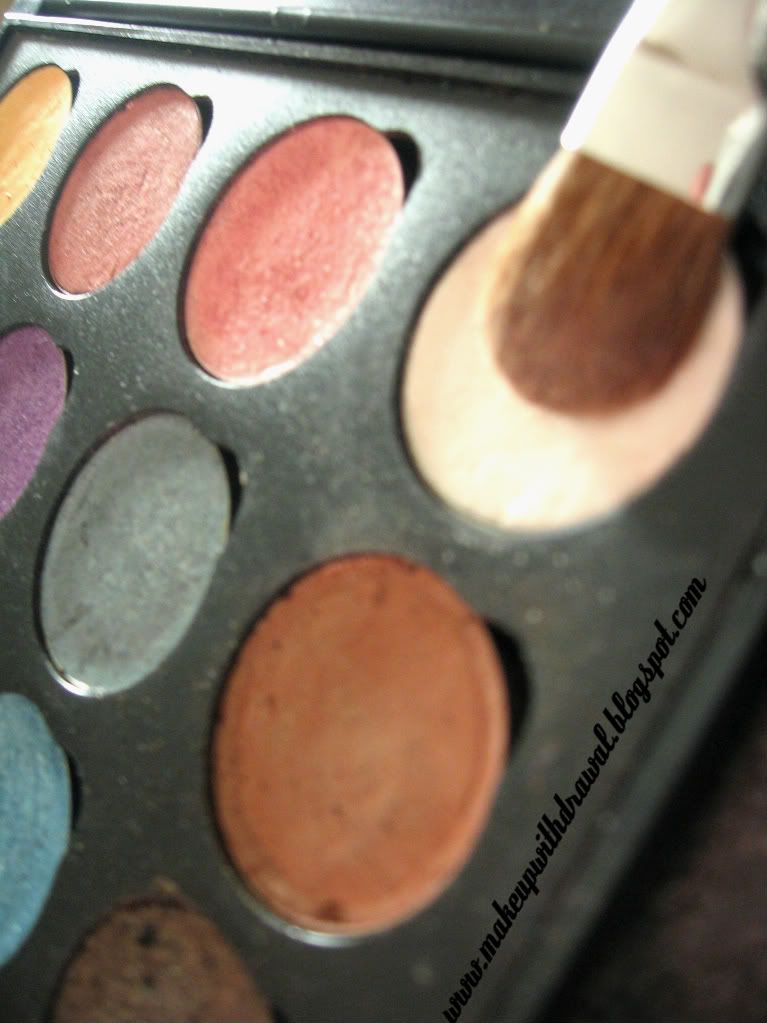
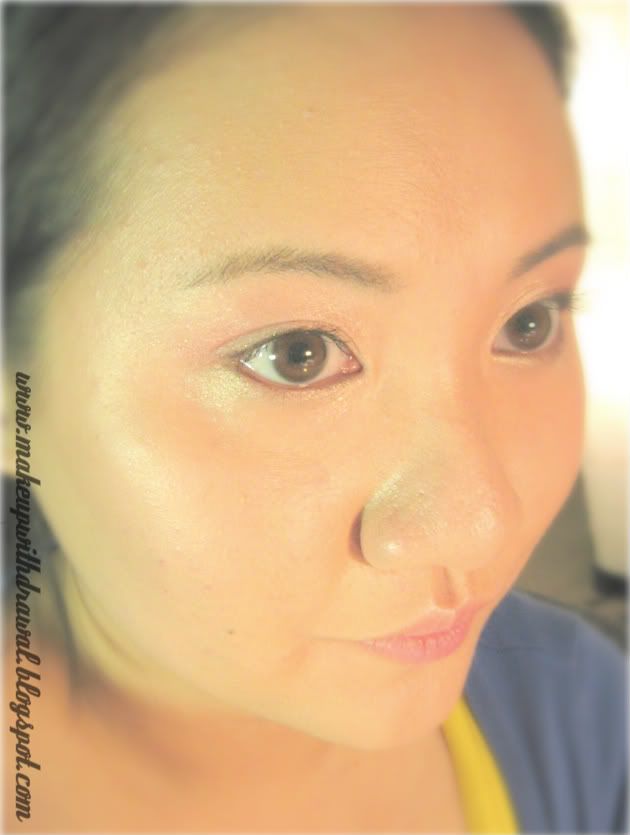
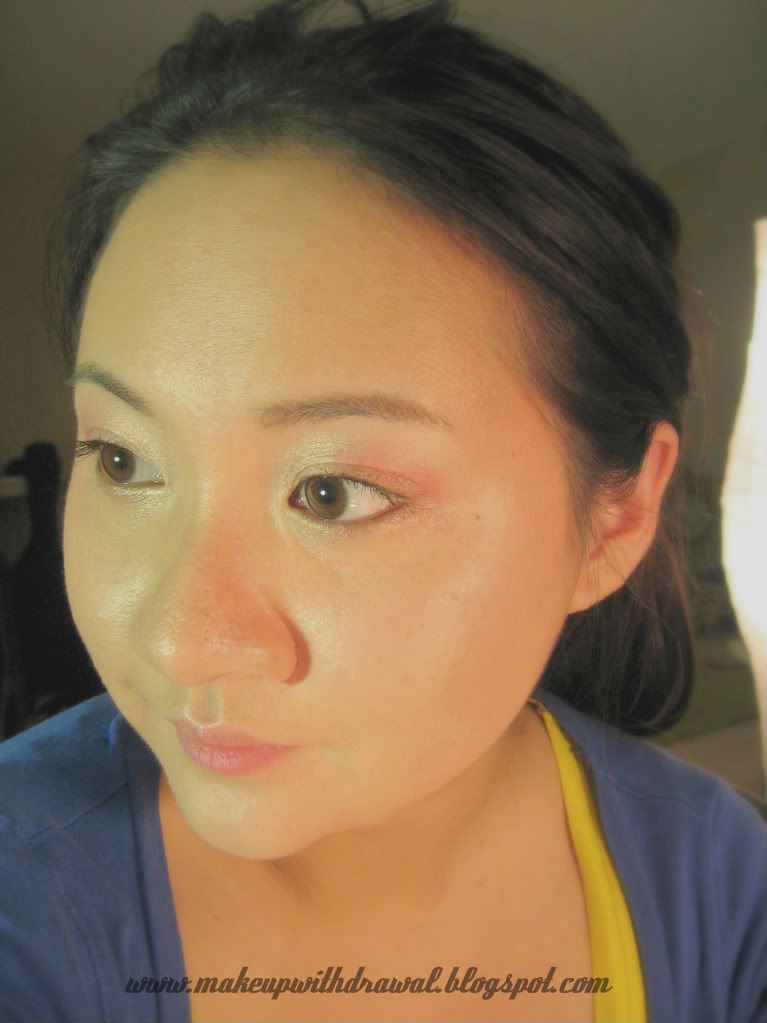
There's no better universal girly look than pink eye shadow. I do declare that this look can make anyone look as sweet as icing. Believe it or not, I have seen pink eye shadow go horribly wrong on one occasion (Pink eye, anyone?) To make sure that you don't appear as though you've got a swollen eye, pick out a pink that melts into your skin. Usually, that means a peachy pink, and if you have one that has gold shimmer, that's perfect! If you don't- you can supplement it with a soft gold, not too yellow but more beige than metallic (Try Sally Girl mini baked shadow in Gold or Ulta brand eye shadow in Aztec Gold). We're really pushing youth and glow here.
Let's begin with finished skin- all the primer, concealer, foundation etc has been applied (check out my stippling foundation guide for step by step instructions on this airbrushed skin).
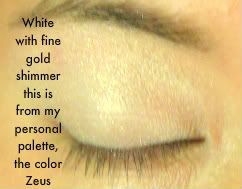
First up, pat a eye primer onto your eye lids with a finger and let it dry. Apply a white eye shadow all over the lid, from your eye brows down to the lashes, then layer a fine gold (like Coastal Scent's Inter Gold) over the white with a large fluffy eye shadow brush. 


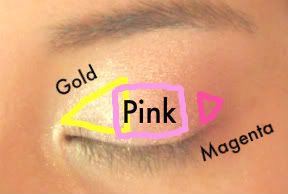
Make sure to tap off any excess powder during this step, because nothing looks chalkier than white eye shadow! With the gold shimmer on top of it, this will really give your eye dimension, especially when we add the other shadows. Next, we'll take a bit of that pink/gold with a small eye shadow brush and lightly pat it onto the center of the lid, onto the ball of the eye. Be sure to blend that out on either side, toward the inner and outer corners of the eye. 

Next, take that light beige gold (here I'm using my all time favorite gold, Sally Girl mini baked shadow in Gold) and apply it starting from the inner corner towards the middle of the eye, blending where it meets that lovely soft pink. On the outer corners, with a small smudge brush, tuck in the tiniest bit of magenta shadow, just to help emphasize the pink (or you can use a berry colored blush or dark pink blush) just like the diagram below.


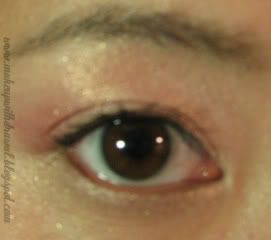
To complete the eye makeup, rim the upper water line with black liner, which is a little tricky! You have to try to apply eye liner with your main hand while the other hand holds up the lashes. If you're uncomfortable with this step, just take a small stiff liner brush and blend a bit of liner into the upper lash line. Then on the lower lash line, only apply liner about a quarter of the way in. The reason we're going for inconspicuous liner is that we want it to seem as though we aren't wearing any- that's the secret of youthful looks- it looks like minimal makeup is used. Finally, one light coat of black or brown mascara if you have thinner lashes, fuller ones can use just a coat of clear or none at all.
You might notice that in the pictures, there's a bit of shimmer fallout under my eyes. I fluffed most of that away with a large face brush, but I didn't worry too much if there was a little left over, it added another element of interest to this look.

I also swiped a bit of matching peachy pink with gold shimmer blush- (like your classic NARS Orgasm or Milani Luminous- it's an echo of the eye shadow color we're using), with a fan brush and lightly applied it to my temples and swept it down to the lower half of the apples of my cheeks. The tiniest bit will do- we want a warm glow, not a flustered pink face. For the lips, I stained them with a tiny bit of BeneFit Posietint for natural looking baby pink pout.  
All done! The end result is a beautiful soft glow, with a gorgeous golden pink sheen on your eyelids.