Tutorial: Easy Sponge Gradient
Sunday, April 22, 2012
Happy Sunday!
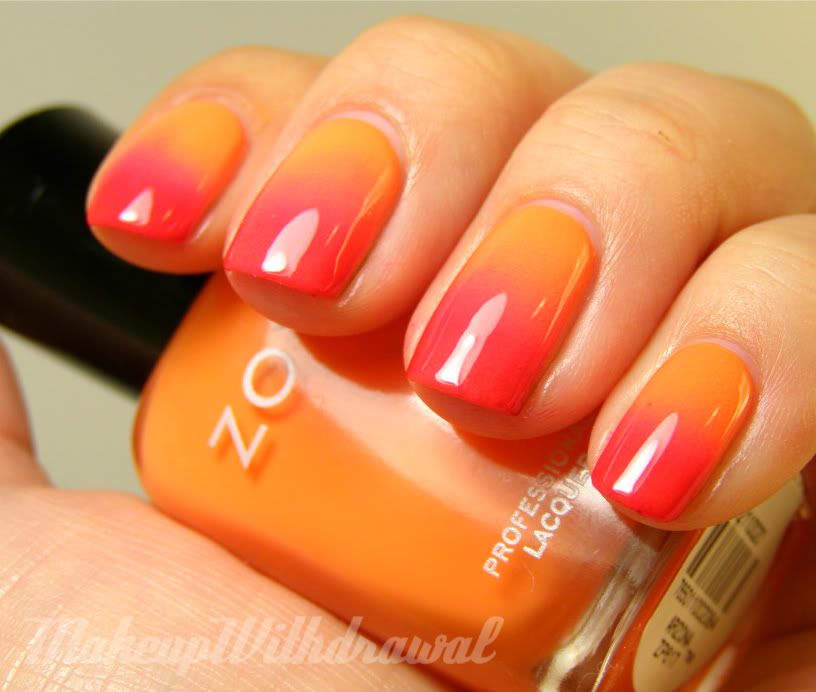
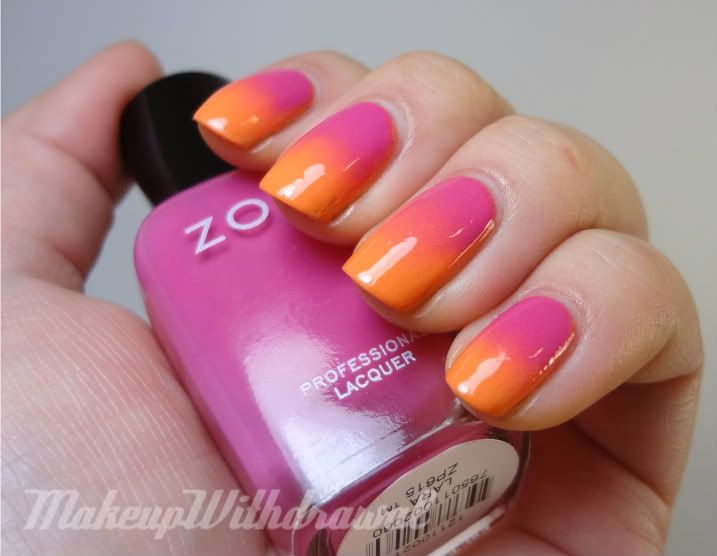
Today, I wanted to show you guys how I did the Tropical Gradient from earlier this week. It's very easy and I like that it has that seamless look.
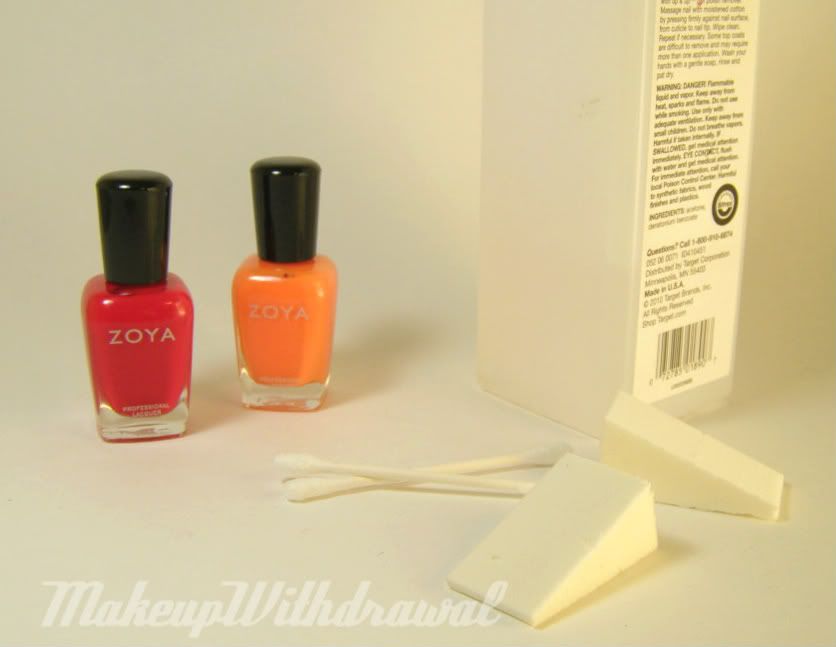
You'll need:
-two or more polishes. Here, I've used Zoya Sooki and Zoya Arizona*
-disposable cosmetic sponge wedges
-nail polish remover and qtips for clean up

Start out by painting your nails with your base coat and your base color. Using the lighter of the two colors seems to work better for me.
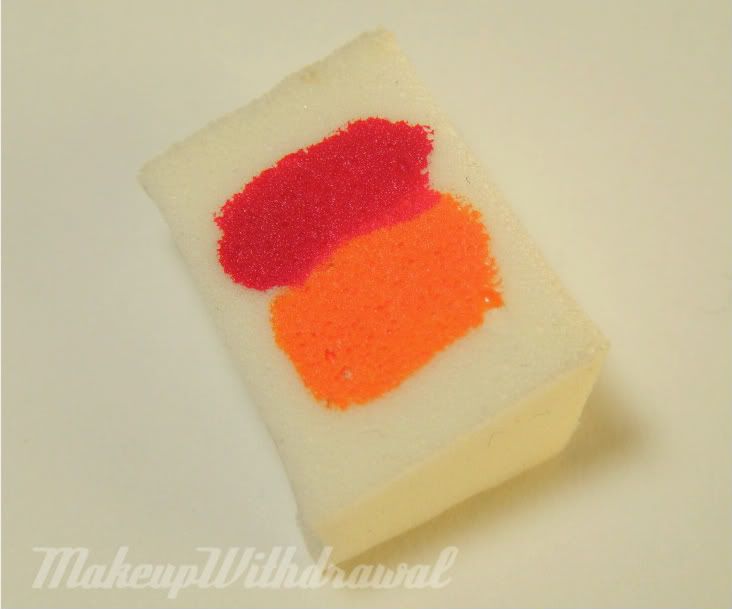
You might want to cut the sponges down to size, to make it easier to use. Simply paint two strips of color onto the flat surface of the sponge, that touch slightly.

Bounce the sponge against your nail. It starts out looking patchy, but keep bouncing and you'll see that the colors start to blend.
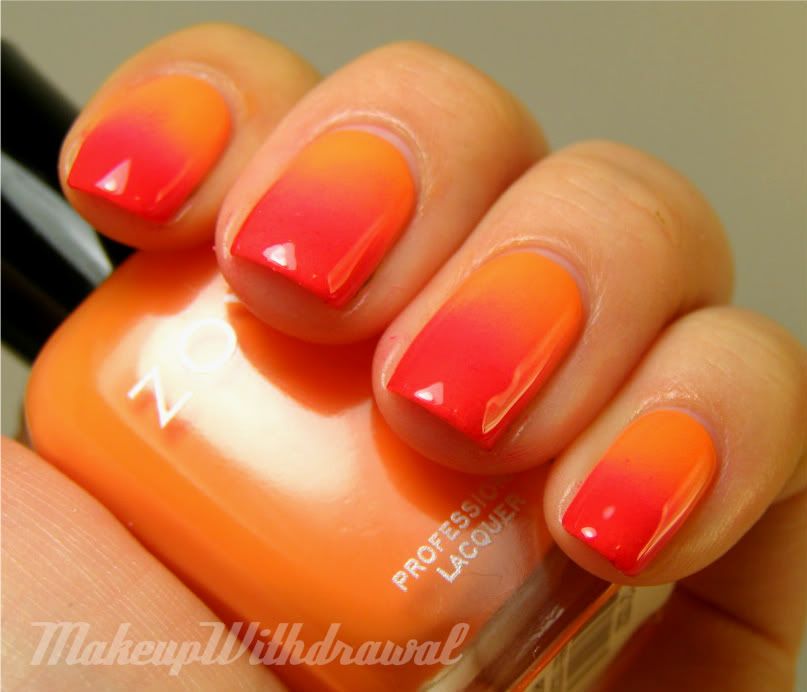
When you're finished, apply your top coat and carefully clean up the skin around the nail with your polish remover and qtips. Voila!
A few tips:
-Creme finishes seem to work the best. If you use a polish with glitter or sparkle, the base color tends to be absorbed by the sponge and you'll end up with just the glitter/sparkle pieces on the nail.
-Wait until your base color is quite dry, or you might end up smudging it!
- Nail polish will disintegrate the sponge. Work quickly, and change new sponges often or else that you might find little bits of sponge start to come loose and stick to your polish.
-Try painting diagonally or using more than two colors, there's no limit.
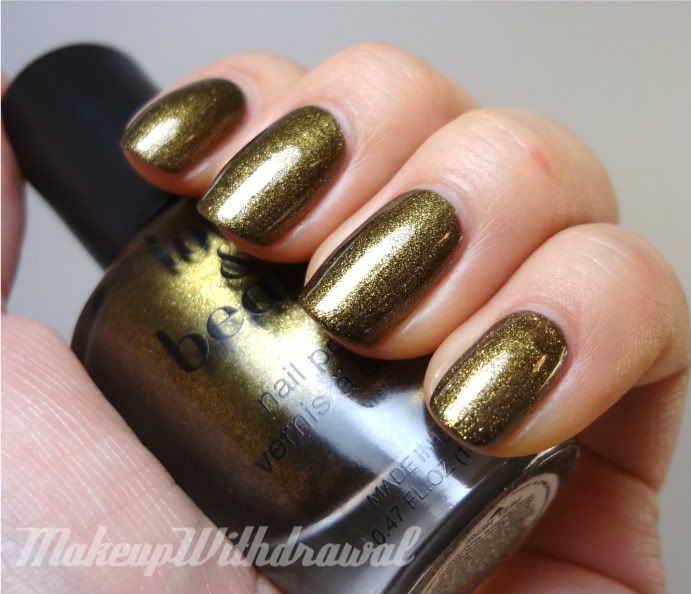
Here's a diagonal manicure that I did with Zoya Wednesday* and Zoya Tracie*:
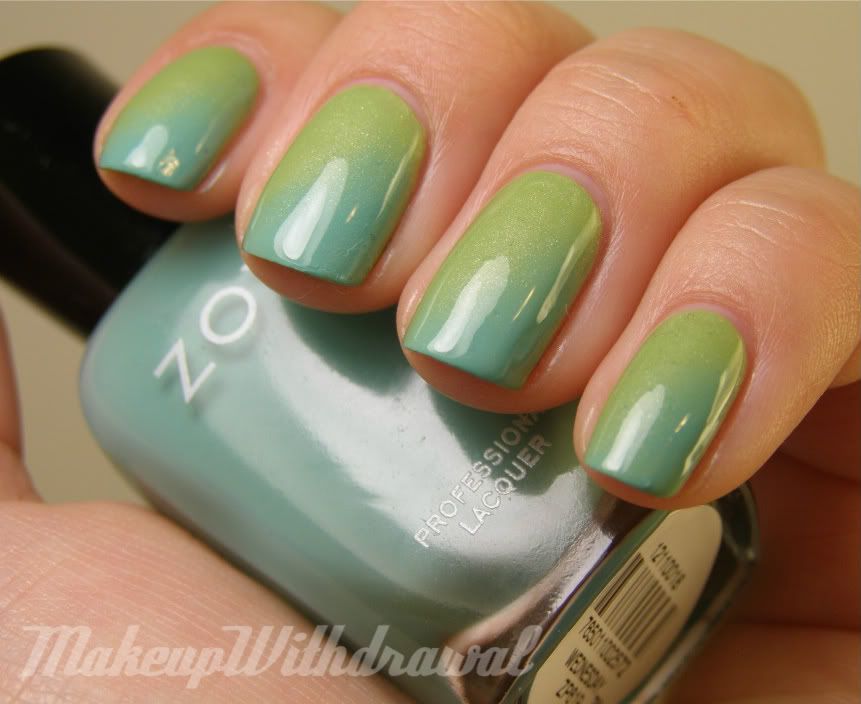
Was that simple or what? I think it's a huge improvement, from the first sponging gradients I did (like last year's Jen Kao/CND look I attempted).
Thanks for checking out this tutorial!
*indicates a product that was sent to me for review. For additional information, please refer to my Disclosure Policy.
Today, I wanted to show you guys how I did the Tropical Gradient from earlier this week. It's very easy and I like that it has that seamless look.
You'll need:
-two or more polishes. Here, I've used Zoya Sooki and Zoya Arizona*
-disposable cosmetic sponge wedges
-nail polish remover and qtips for clean up
Start out by painting your nails with your base coat and your base color. Using the lighter of the two colors seems to work better for me.
You might want to cut the sponges down to size, to make it easier to use. Simply paint two strips of color onto the flat surface of the sponge, that touch slightly.
Bounce the sponge against your nail. It starts out looking patchy, but keep bouncing and you'll see that the colors start to blend.
When you're finished, apply your top coat and carefully clean up the skin around the nail with your polish remover and qtips. Voila!
A few tips:
-Creme finishes seem to work the best. If you use a polish with glitter or sparkle, the base color tends to be absorbed by the sponge and you'll end up with just the glitter/sparkle pieces on the nail.
-Wait until your base color is quite dry, or you might end up smudging it!
- Nail polish will disintegrate the sponge. Work quickly, and change new sponges often or else that you might find little bits of sponge start to come loose and stick to your polish.
-Try painting diagonally or using more than two colors, there's no limit.
Here's a diagonal manicure that I did with Zoya Wednesday* and Zoya Tracie*:
Was that simple or what? I think it's a huge improvement, from the first sponging gradients I did (like last year's Jen Kao/CND look I attempted).
Thanks for checking out this tutorial!
*indicates a product that was sent to me for review. For additional information, please refer to my Disclosure Policy.





 Posts
Posts