Everything You Need to Know About Konad (Pt. 2: Tutorial)
Friday, September 3, 2010
Ok, so this is the second half of my Konad/nail stamping posts, the part that actually tells you what the heck to do.
I'm assuming that you've read Part 1 and have all the supplies, so I'm not going to familiarize you with descriptions of the tools. Any of the images can be enlarged by clicking on them.
Konad Tutorial
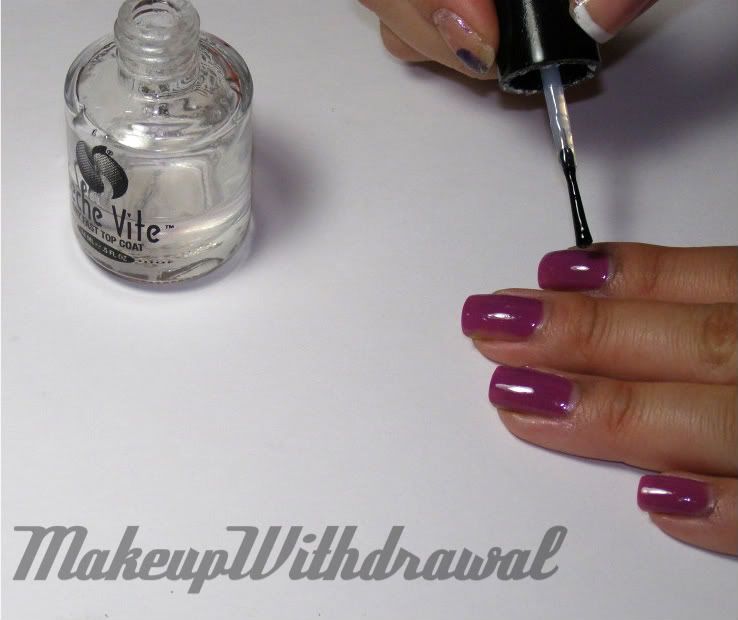
Step 1: Apply your base coat, and your base color as you would regularly. After that, apply a top coat to seal in your color. This is a pretty important step, especially if you're new to stamping because chances are, you might mess up the first attempt at stamping and will want to remove the messed up image. The top coat allows you to take a q-tip or cotton pad and whisk away the image without disturbing your base color, and making you start over from scratch.
 Step 2: Make sure the lacquer on your nails are COMPLETELY dry. I'm serious. A semi dry nail can smudge quite badly as you stamp the image onto them. It's better to wait a few extra minutes for your polish to dry than it is to rush and smudge them later, and having to redo that nail. Also, if you'd like to avoid having to clean up your cuticles, apply Vaseline or a cuticle oil to them, being careful not to get any on the nail itself.
Step 3: Make sure the plate is clean (wipe it down with your remover if needed) and apply your stamping polish to roughly the first 1/2 of your design. You don't need to cover the whole design because the act of scraping, which follows- pushes the excess polish into the gaps.
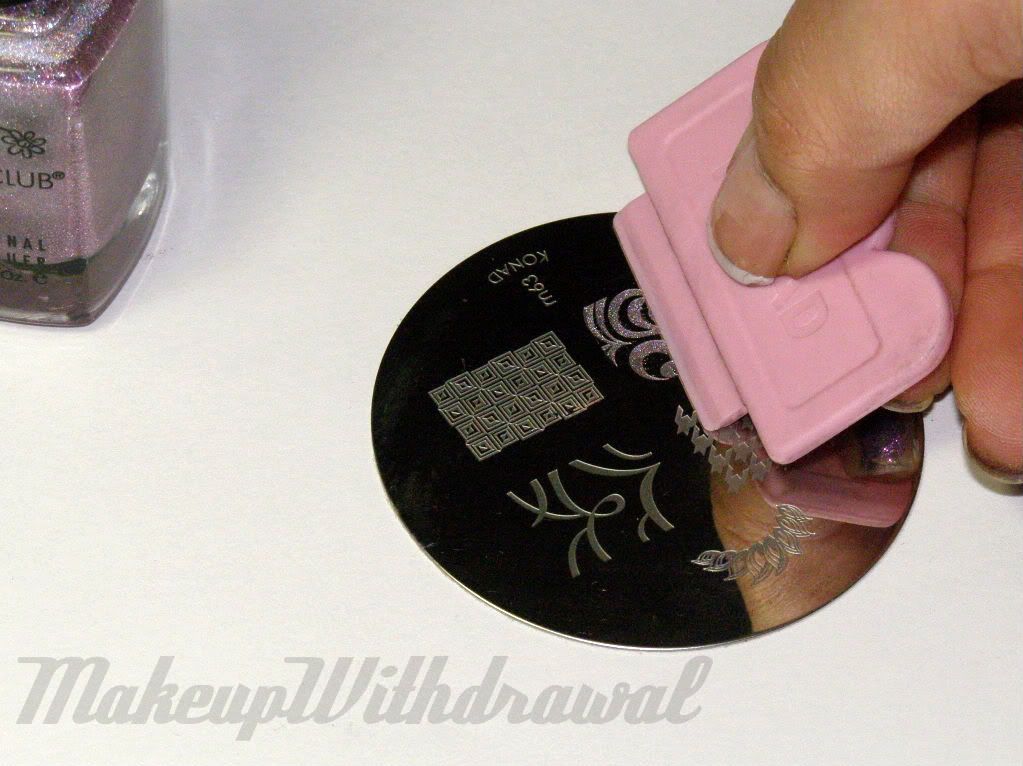
Step 4: Holding the scraper at an angle (not 90 degrees, angle it at 45 instead), carefully scrape across the image. Don't worry if the image is a little streaky, that usually doesn't pick up when you stamp.

Step 5: Quickly stamp the image onto your stamper, using even pressure. You want to work quickly because you don't want the polish to dry out, the image will not transfer well if it does.
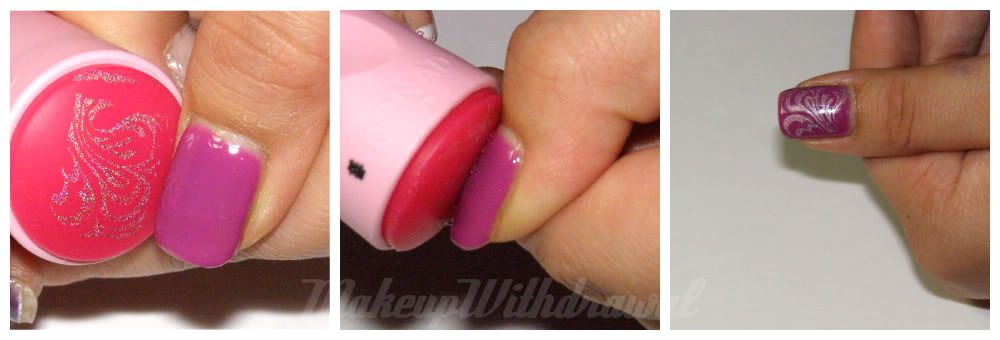
Step 6: Line up the side of the image with the side of your nail. You want to stamp the image from side to side, rather than from tip to cuticle, it'll help align your image better. Press the stamper onto your nail in a slight rolling motion across the surface (as opposed to just stamping it really hard onto your nail).
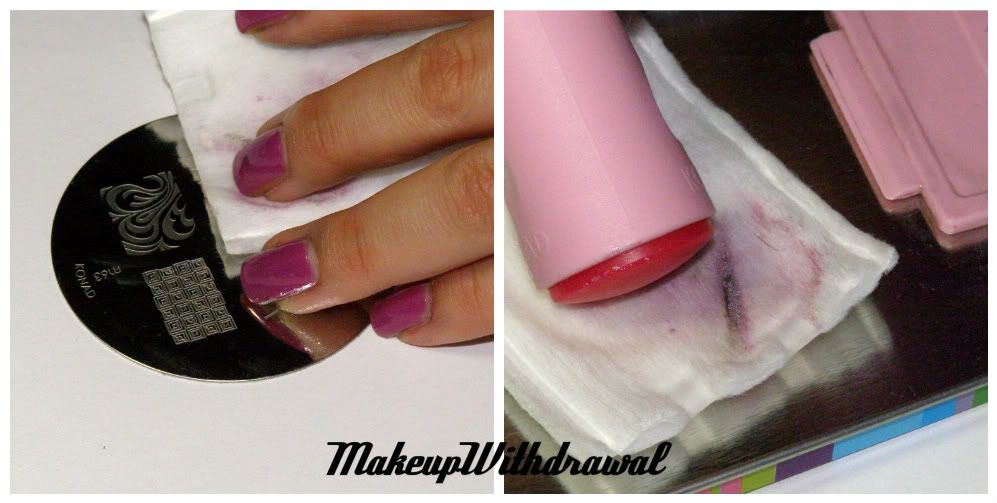 Step 7: Inspect the image, if it's not to your liking, you can quickly wipe it off with nail polish remover (gently) and start over. If not, clean off your stamper, scraper and plate by wiping them down with remover. Repeat steps 3 to 7 for every nail.
Step 8: Now clean up, removing any extra polish that got on your cuticles. Finish up with a clear top coat. Voila! Finished!
So, was that comprehensive enough?
I love, love nail stamping because it allows me to get clean, precise designs onto my nails when I'm too lazy to hand paint them on. You can get great semi sheer images that are intricate and really cool looking. Try mixing matte and glossy polishes, as well as holographic ones. You can also layer designs for even more unique nails!
Have any questions? Or comments? Or tips for those who are new to it? How about favorite plates and polishes combos?
I'm assuming that you've read Part 1 and have all the supplies, so I'm not going to familiarize you with descriptions of the tools. Any of the images can be enlarged by clicking on them.
Konad Tutorial
Step 1: Apply your base coat, and your base color as you would regularly. After that, apply a top coat to seal in your color. This is a pretty important step, especially if you're new to stamping because chances are, you might mess up the first attempt at stamping and will want to remove the messed up image. The top coat allows you to take a q-tip or cotton pad and whisk away the image without disturbing your base color, and making you start over from scratch.
Step 3: Make sure the plate is clean (wipe it down with your remover if needed) and apply your stamping polish to roughly the first 1/2 of your design. You don't need to cover the whole design because the act of scraping, which follows- pushes the excess polish into the gaps.
Step 4: Holding the scraper at an angle (not 90 degrees, angle it at 45 instead), carefully scrape across the image. Don't worry if the image is a little streaky, that usually doesn't pick up when you stamp.
Step 5: Quickly stamp the image onto your stamper, using even pressure. You want to work quickly because you don't want the polish to dry out, the image will not transfer well if it does.
Step 6: Line up the side of the image with the side of your nail. You want to stamp the image from side to side, rather than from tip to cuticle, it'll help align your image better. Press the stamper onto your nail in a slight rolling motion across the surface (as opposed to just stamping it really hard onto your nail).
Step 8: Now clean up, removing any extra polish that got on your cuticles. Finish up with a clear top coat. Voila! Finished!
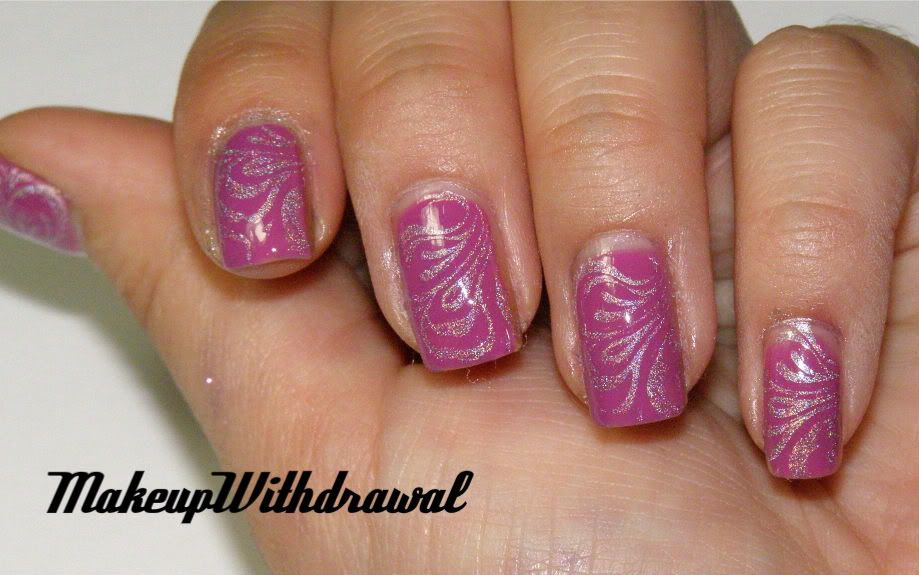 |
| Pre-cleanup! |
I love, love nail stamping because it allows me to get clean, precise designs onto my nails when I'm too lazy to hand paint them on. You can get great semi sheer images that are intricate and really cool looking. Try mixing matte and glossy polishes, as well as holographic ones. You can also layer designs for even more unique nails!
Have any questions? Or comments? Or tips for those who are new to it? How about favorite plates and polishes combos?


No comments:
Post a Comment
So, what do you think?
Please be respectful and do not spam links. If you'd like to link back to your own site, please use the feature in Disqus that allows you to do so.
Thanks!