Tutorial: Striping Tape Mani
Thursday, May 3, 2012
Happy... Thursday!


I tried out striping tape a couple days ago for the first time and after a few redos, I came up with a few neat looks. This here is one based off of nails I found on Pinterest from the blog My Awesome Beauty (click here). Same concept, only I used different polishes. I put together a quick tutorial to show you how easy this is! Honestly, the hardest part of this look is waiting patiently between each coat!
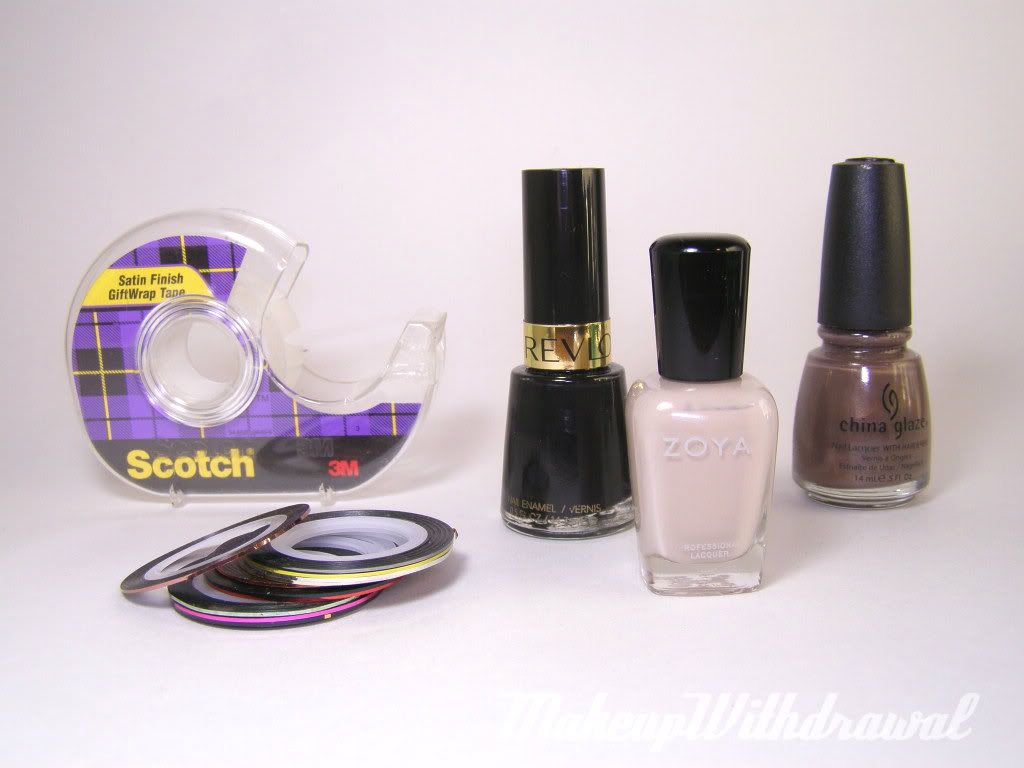
You'll need:
-Three shades of polish
-top coat, base coat
-striping tape
-regular Scotch tape (optional, just easier for me to paint with)
-scissors (not pictured)
-toothpick or orangewood stick (not pictured)
I bought my striping tape off of eBay. It was around $2 for 12 colors and shipping! Really cheap stuff, fun to play with.
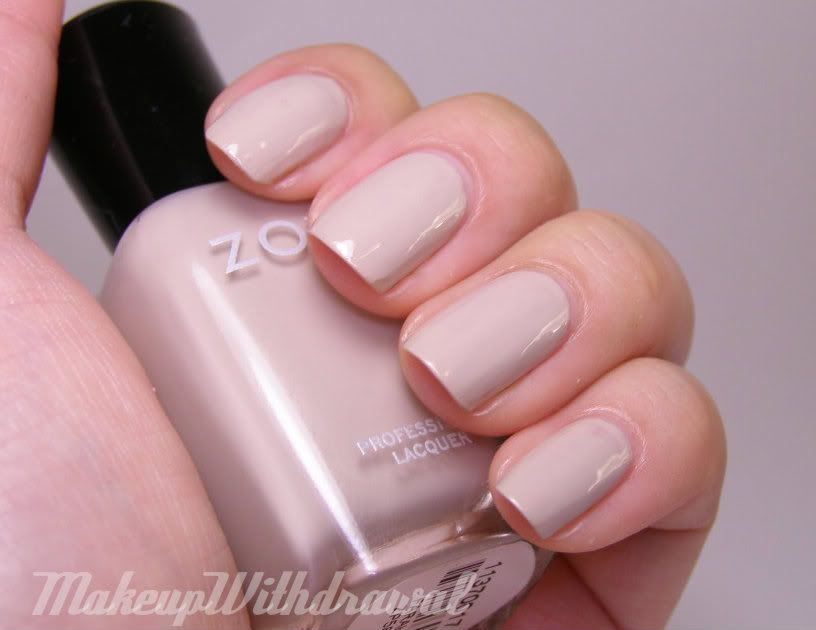
Start out with a base coat, like usual and paint your first color. I'm using Zoya Cho*, used two coats.
Wait for it to dry. Completely. This was agonizing for me so to speed things along, I used a thin coat of fast dry top coat. Sally Hansen Insta Dri, if you're wondering.
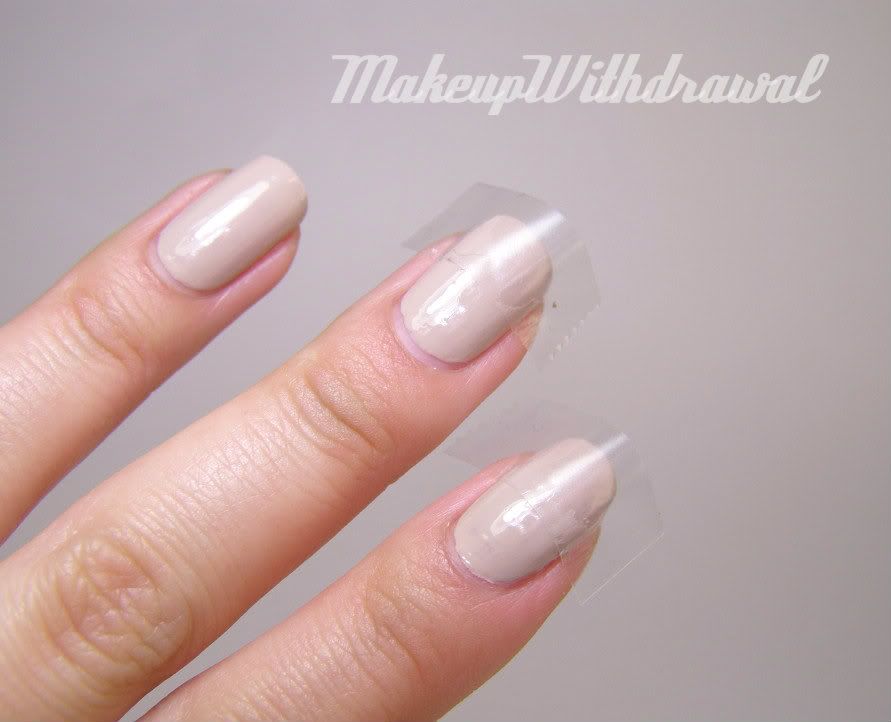
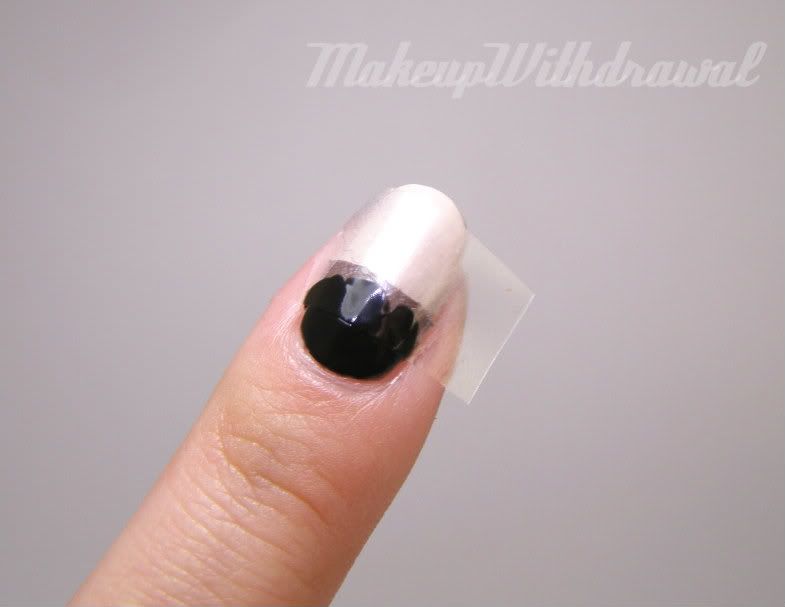
Tape off about half your nails. I used Scotch tape, but you can actually use striping tape for the same purpose.
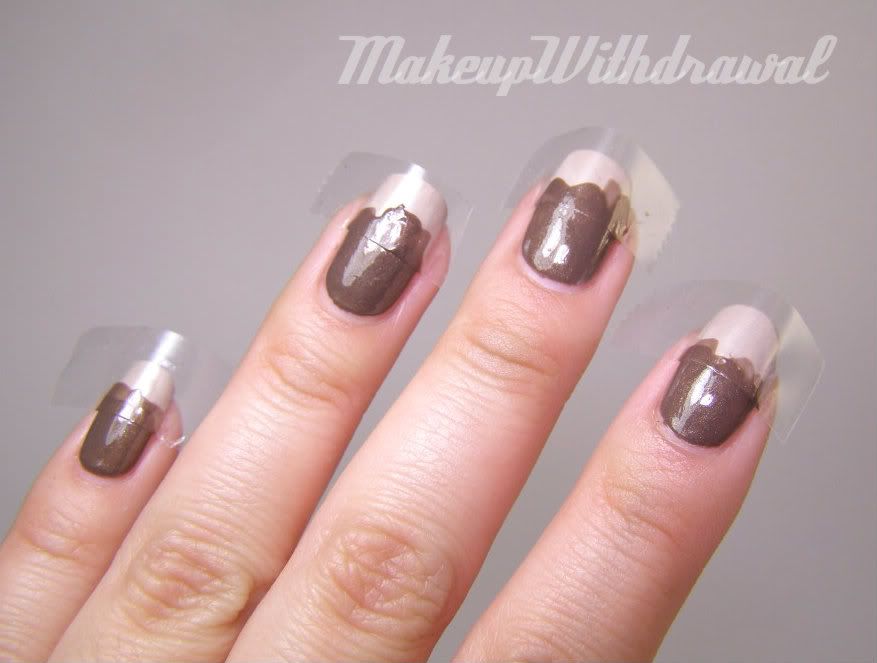
Paint the remaining section a different color. Wait for it to dry, then peel off the tape. Here, I've used China Glaze Ingrid.
Section off another part of of the nails, about 1/4 from the cuticle. Paint the remainder with your third shade. Wait for that to dry then peel off your tape. I'm using Revlon Black Lingerie.
Now is the fun part- apply your striping tape. I recommend placing it across the nail, and laying across the line you want to cover. Then, carefully snip the tape so that it covers the line, BUT IS NOT LONGER than the line. This is pretty important- if it's longer than the polish beneath it, it won't adhere well and it'll be like a loose end that threatens to unravel. Pretty annoying when you went through all that trouble to do your nails, trust me!
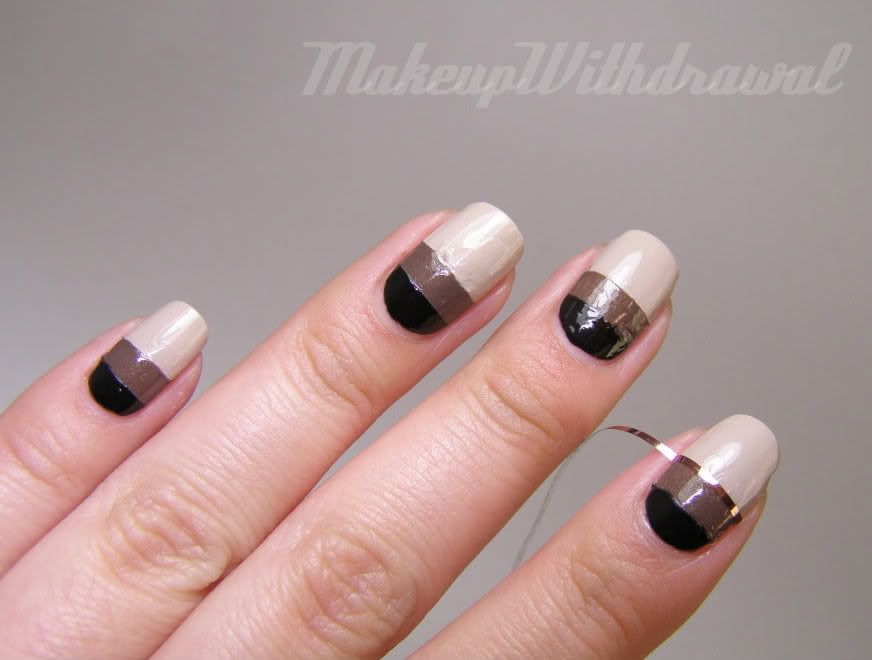
Use a toothpick or something else that is small and pointy to press the tape down firmly, concentrating on the ends. Top everything off with top coat, clean up around your cuticles with a q tip or small brush dipped in polish remover if needed.
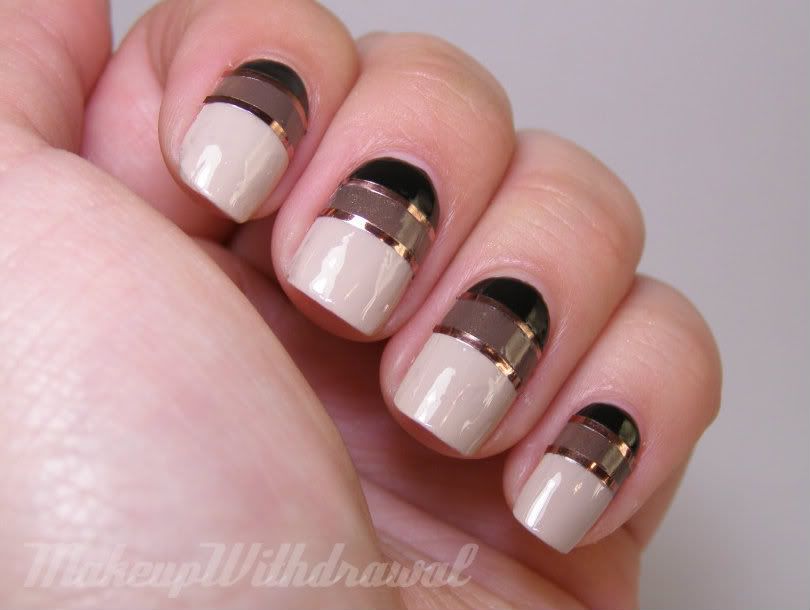
See? Not all that complicated, right? I like how the striping tape hides the line, so even if your edges weren't very crisp, they still end up looking very neat.
I love the end result. It's attractive, in an understated 'clean' sort of way.
Hope that was helpful! Please also check out the original poster, Sophie's blog- My Awesome Beauty. She has such amazing pictures and fantastic nail art.
*indicates a product that was sent to me for review. For additional information, please refer to my Disclosure Policy.
*indicates a product that was sent to me for review. For additional information, please refer to my Disclosure Policy.


So neat! I really wanna try this one out.. Hope I coul find the tape
ReplyDelete